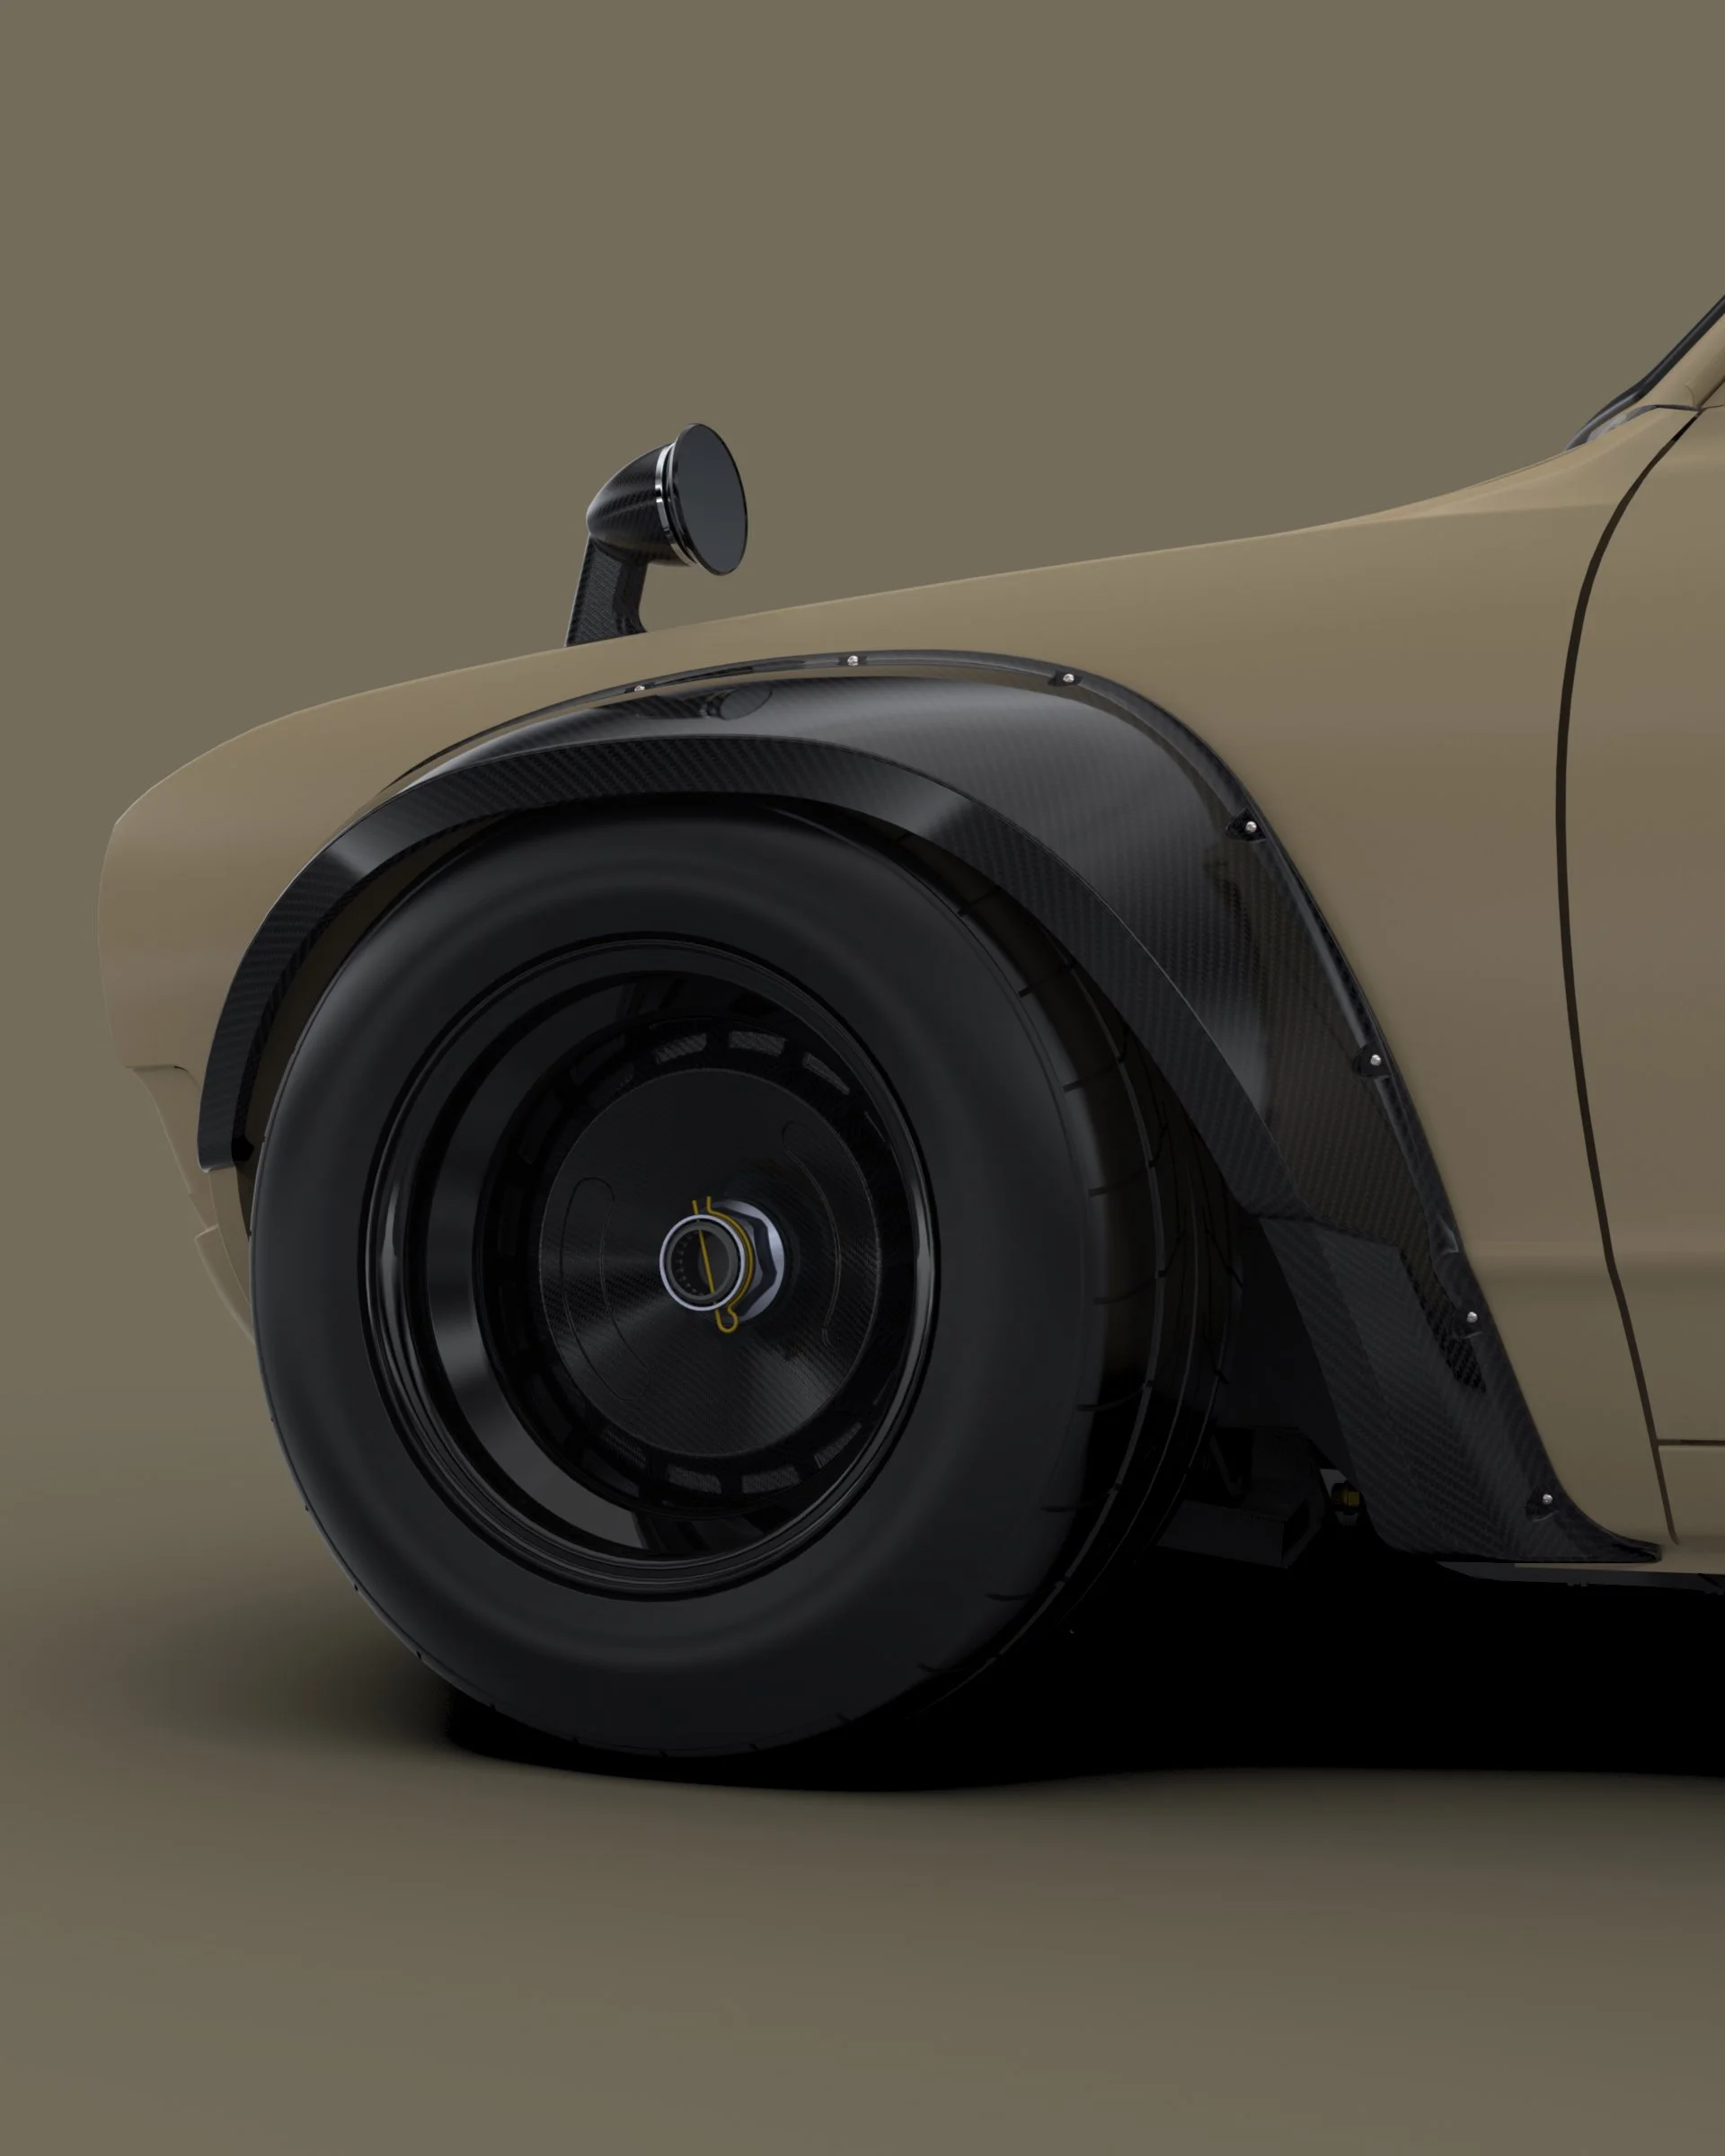
Carbon OVER FENDERS
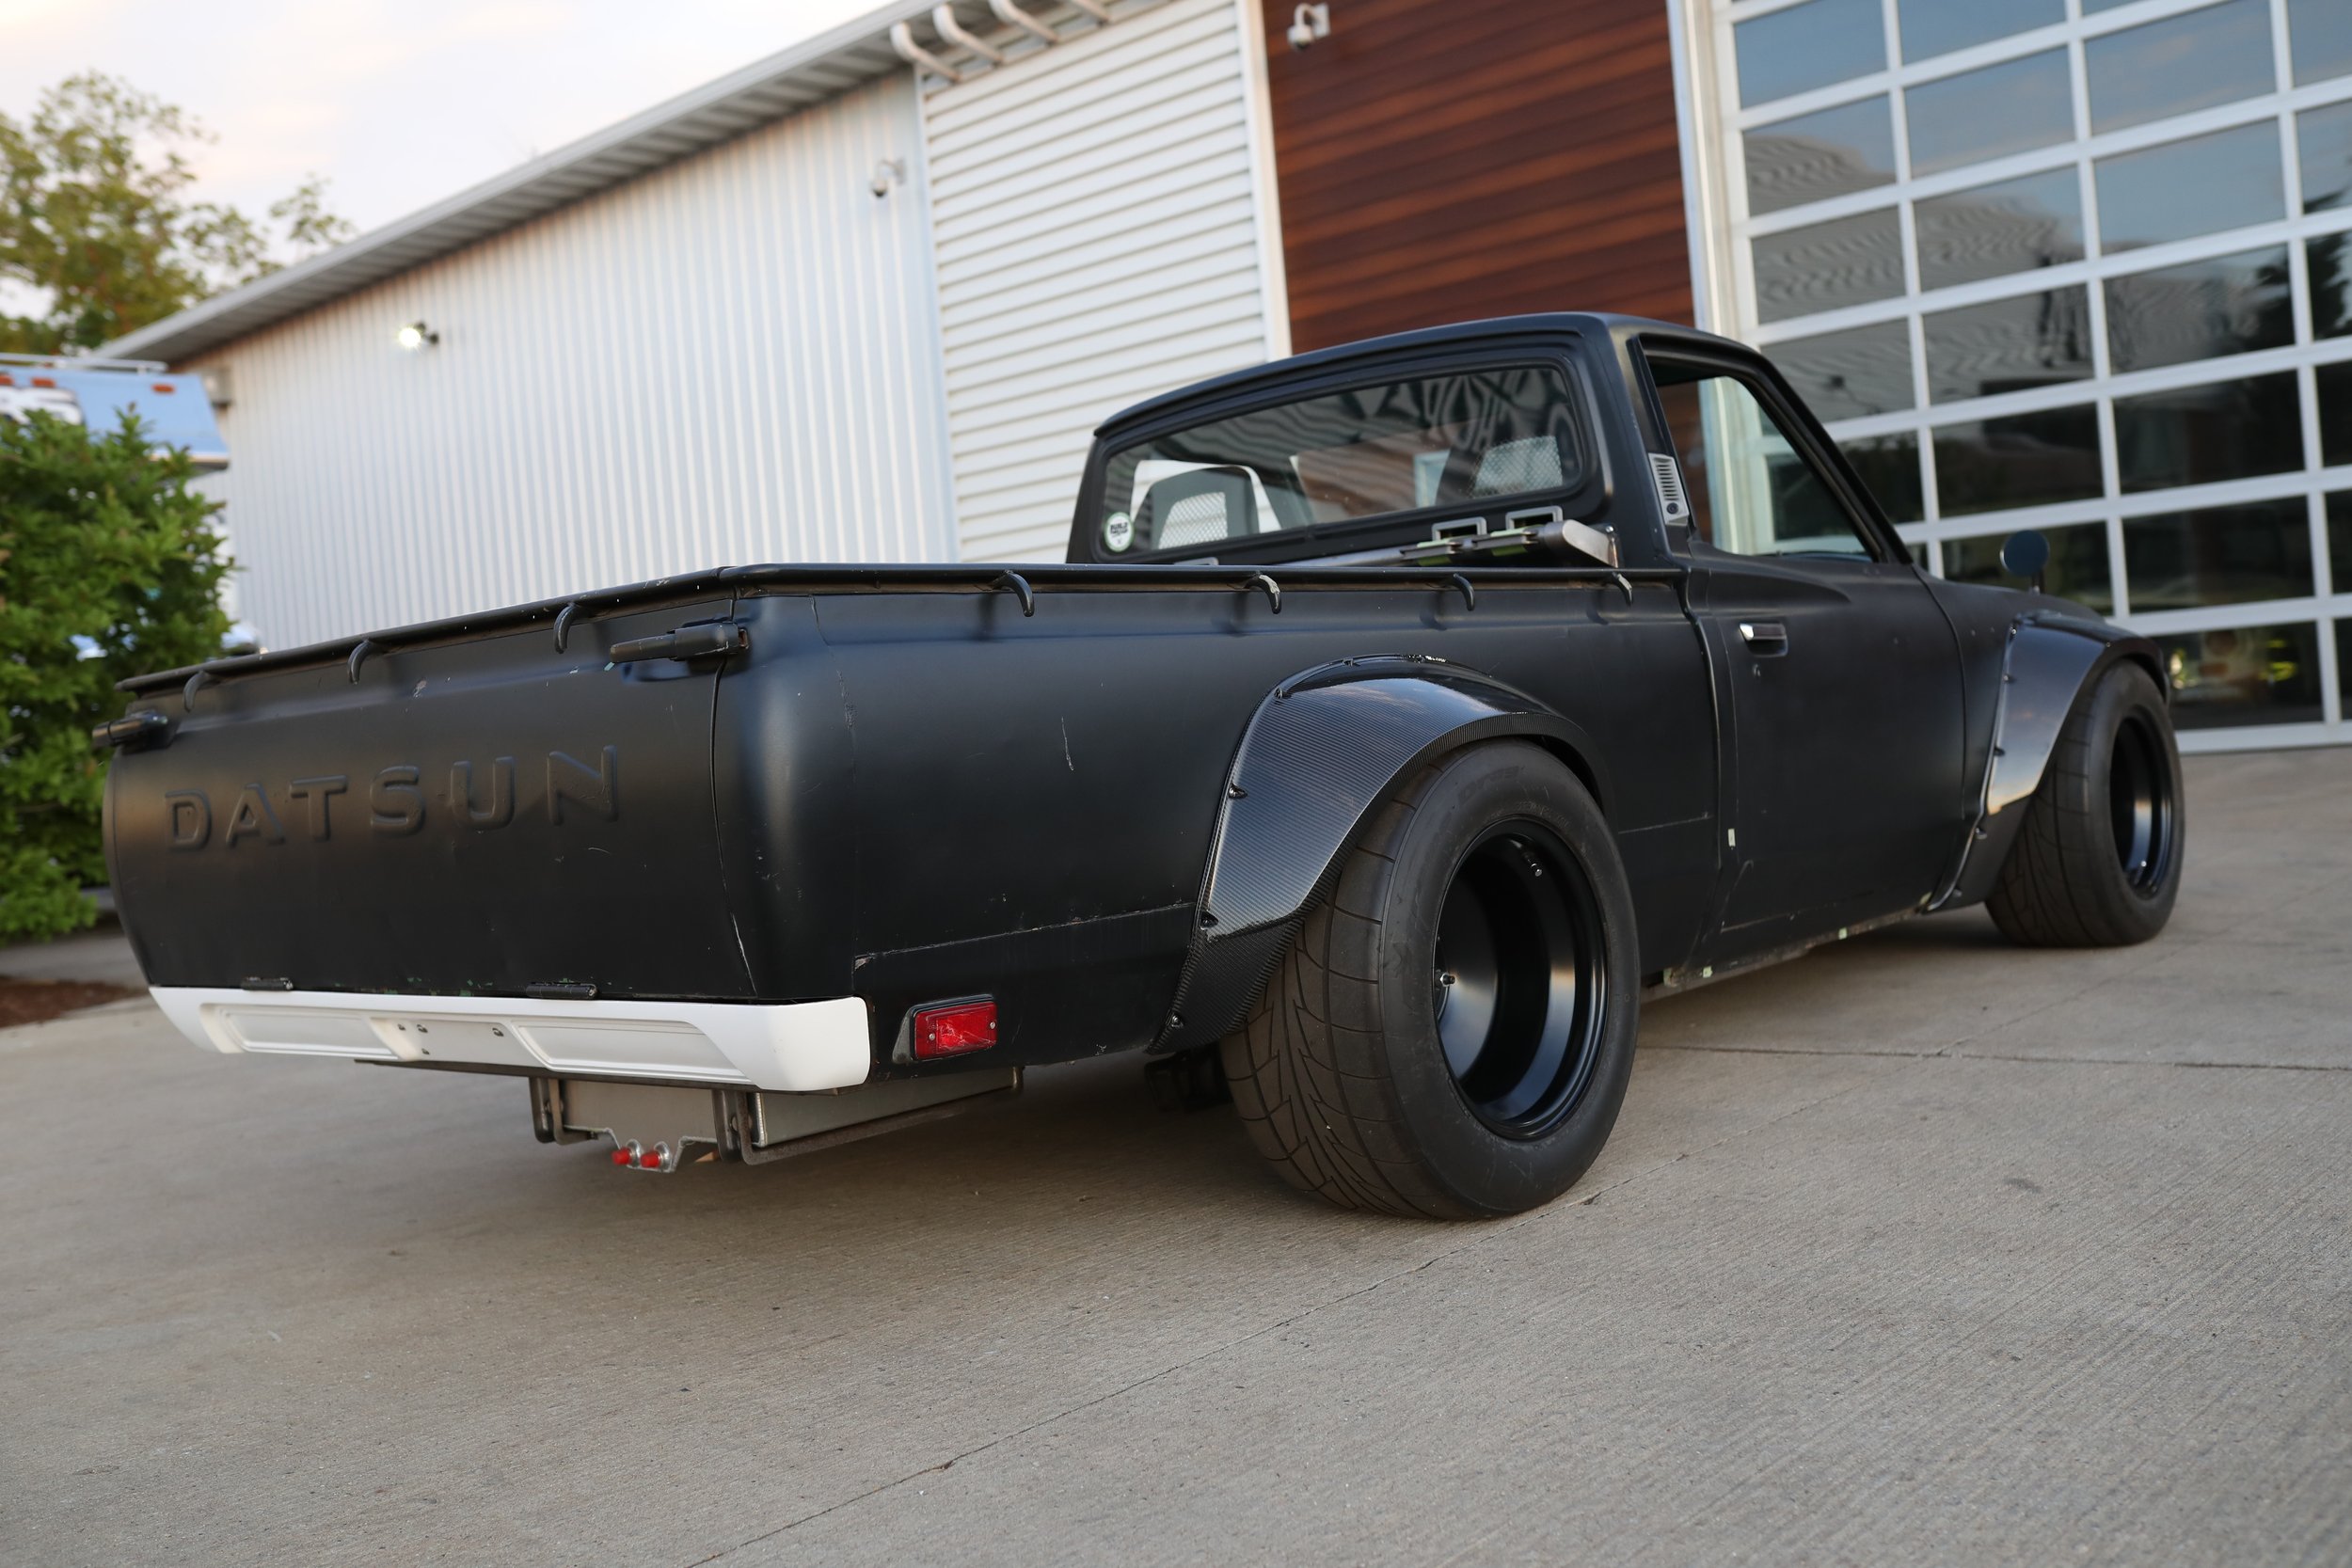
The fender flares on the Datsun 620 build were one of my very first large scale 3d printed composite projects. These were where I really learned how to break apart the component into pieces and idealize them for 3D printing, while also designing in provisions to fasten and hold the parts together true to form. Lots of mistakes were made through the process, but a lot of lessons learned along the way.
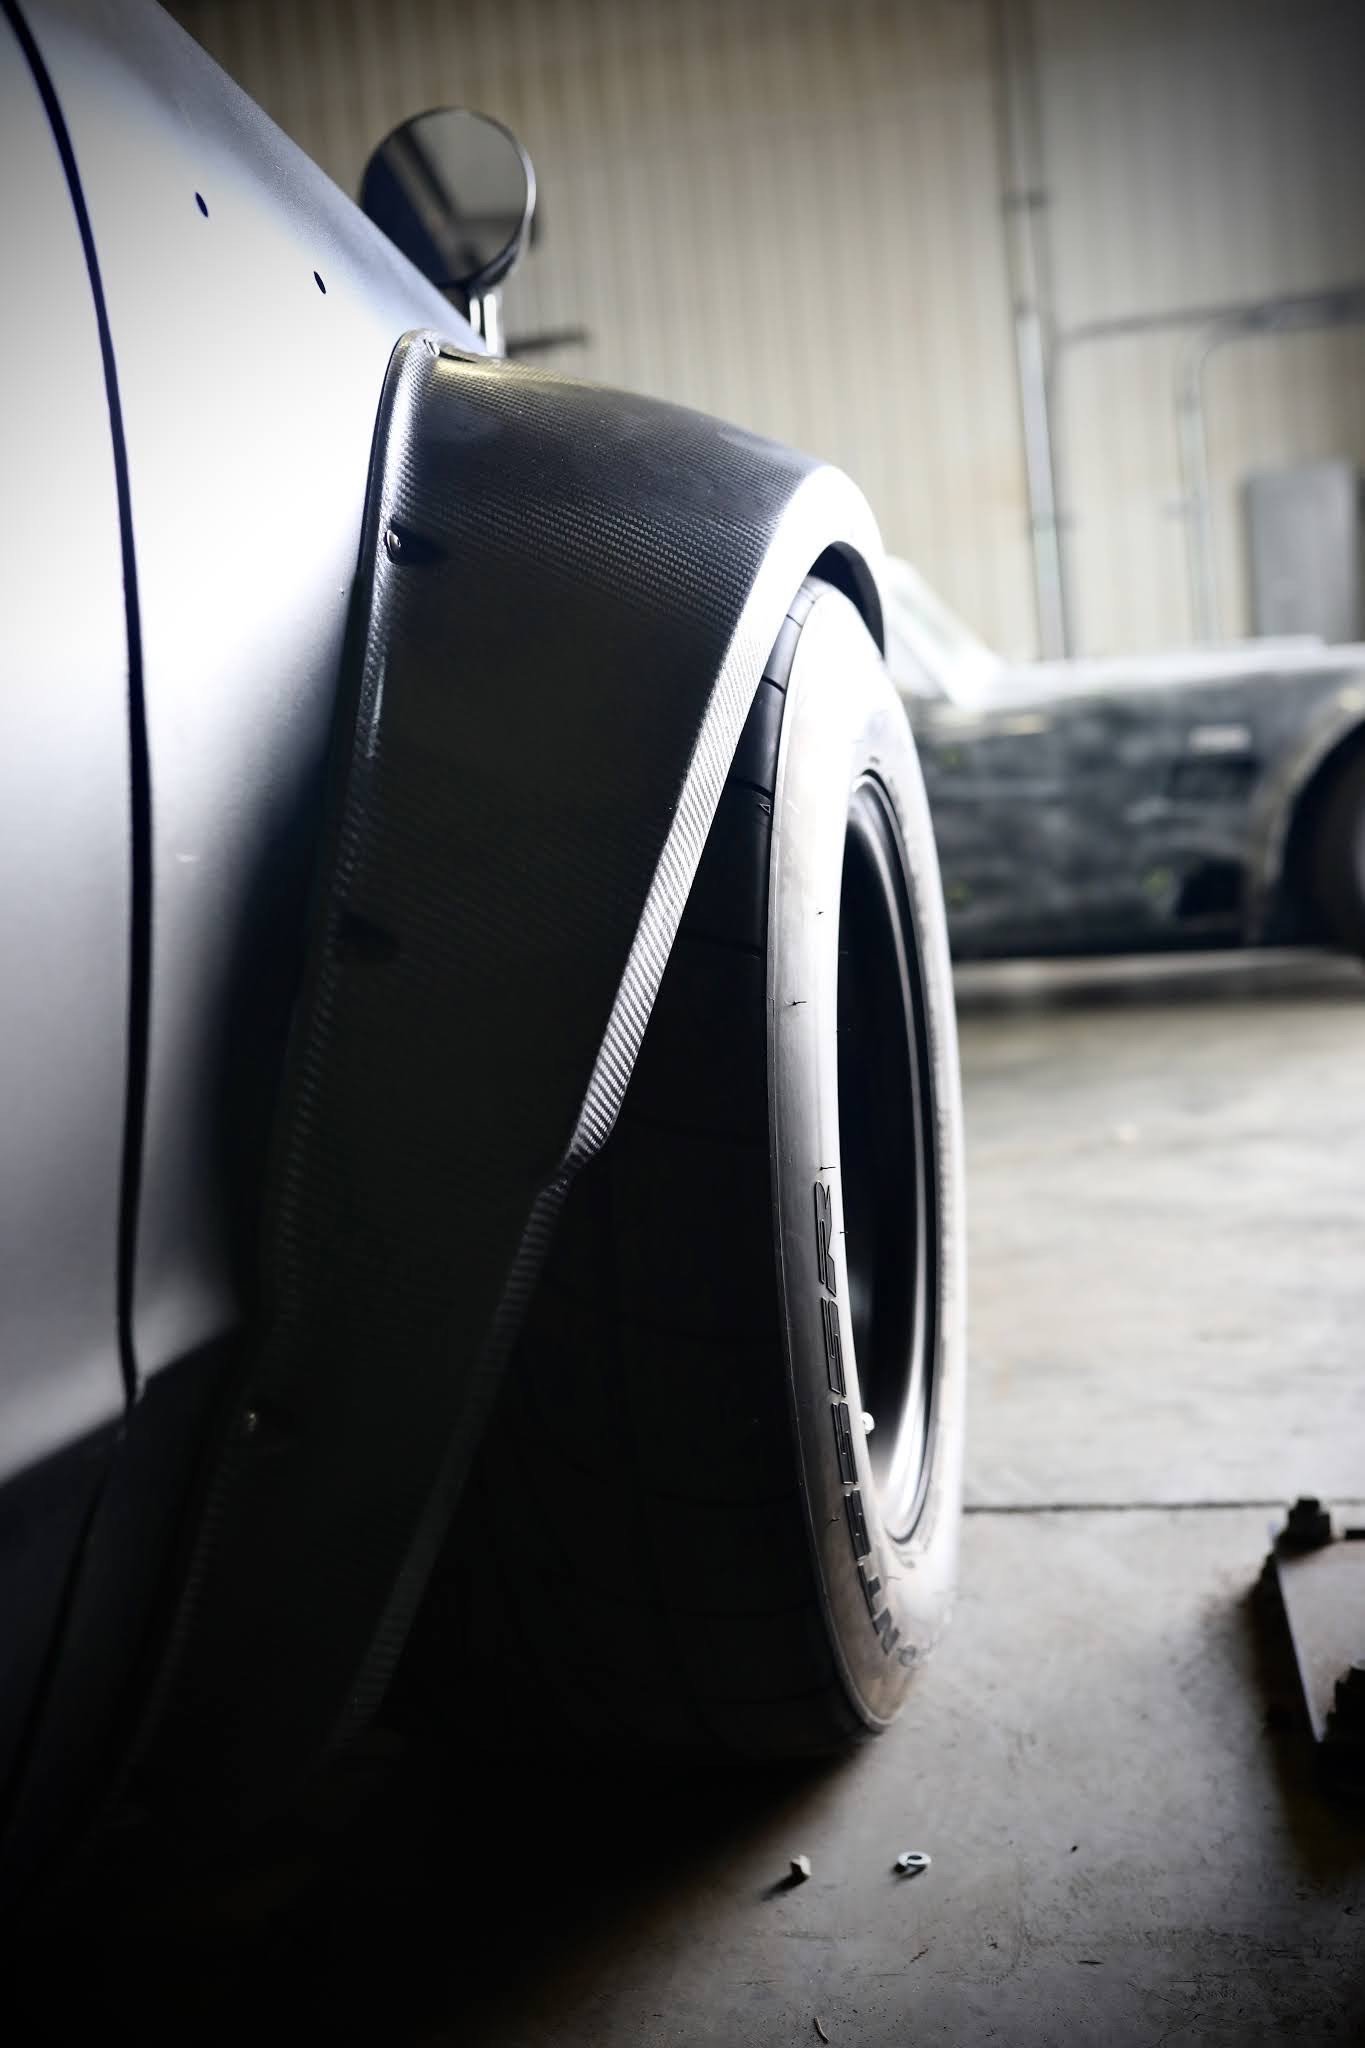
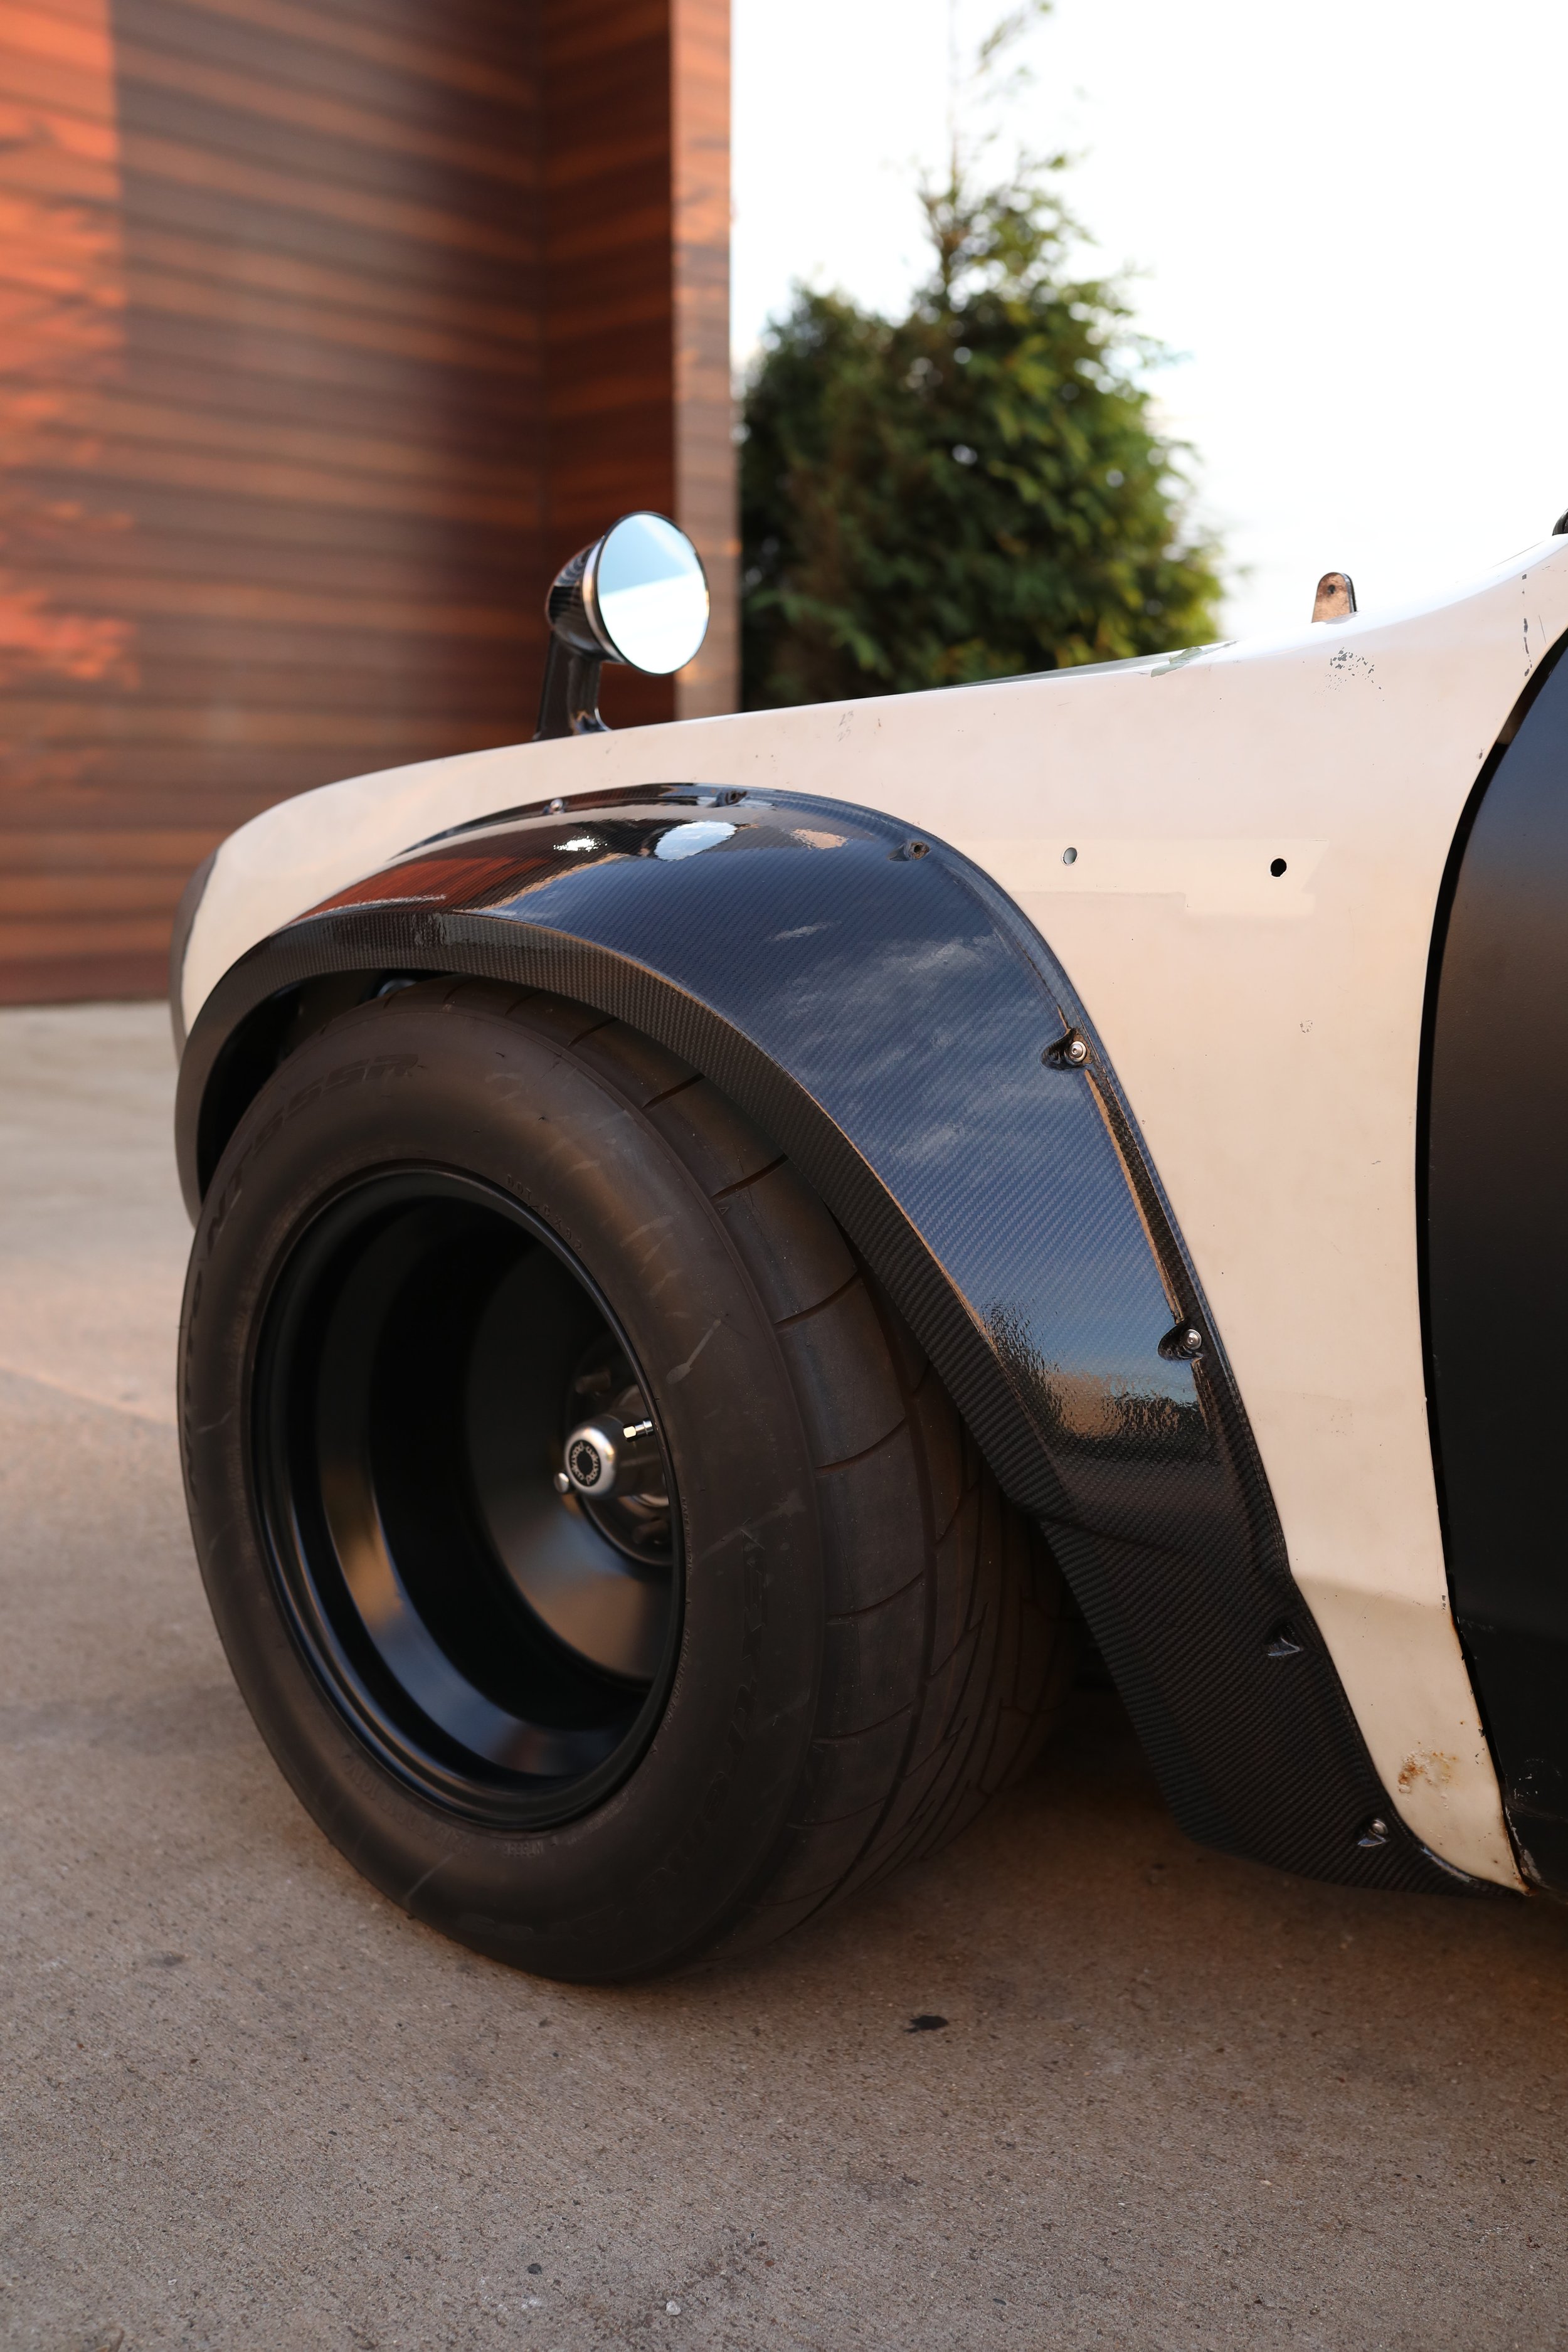
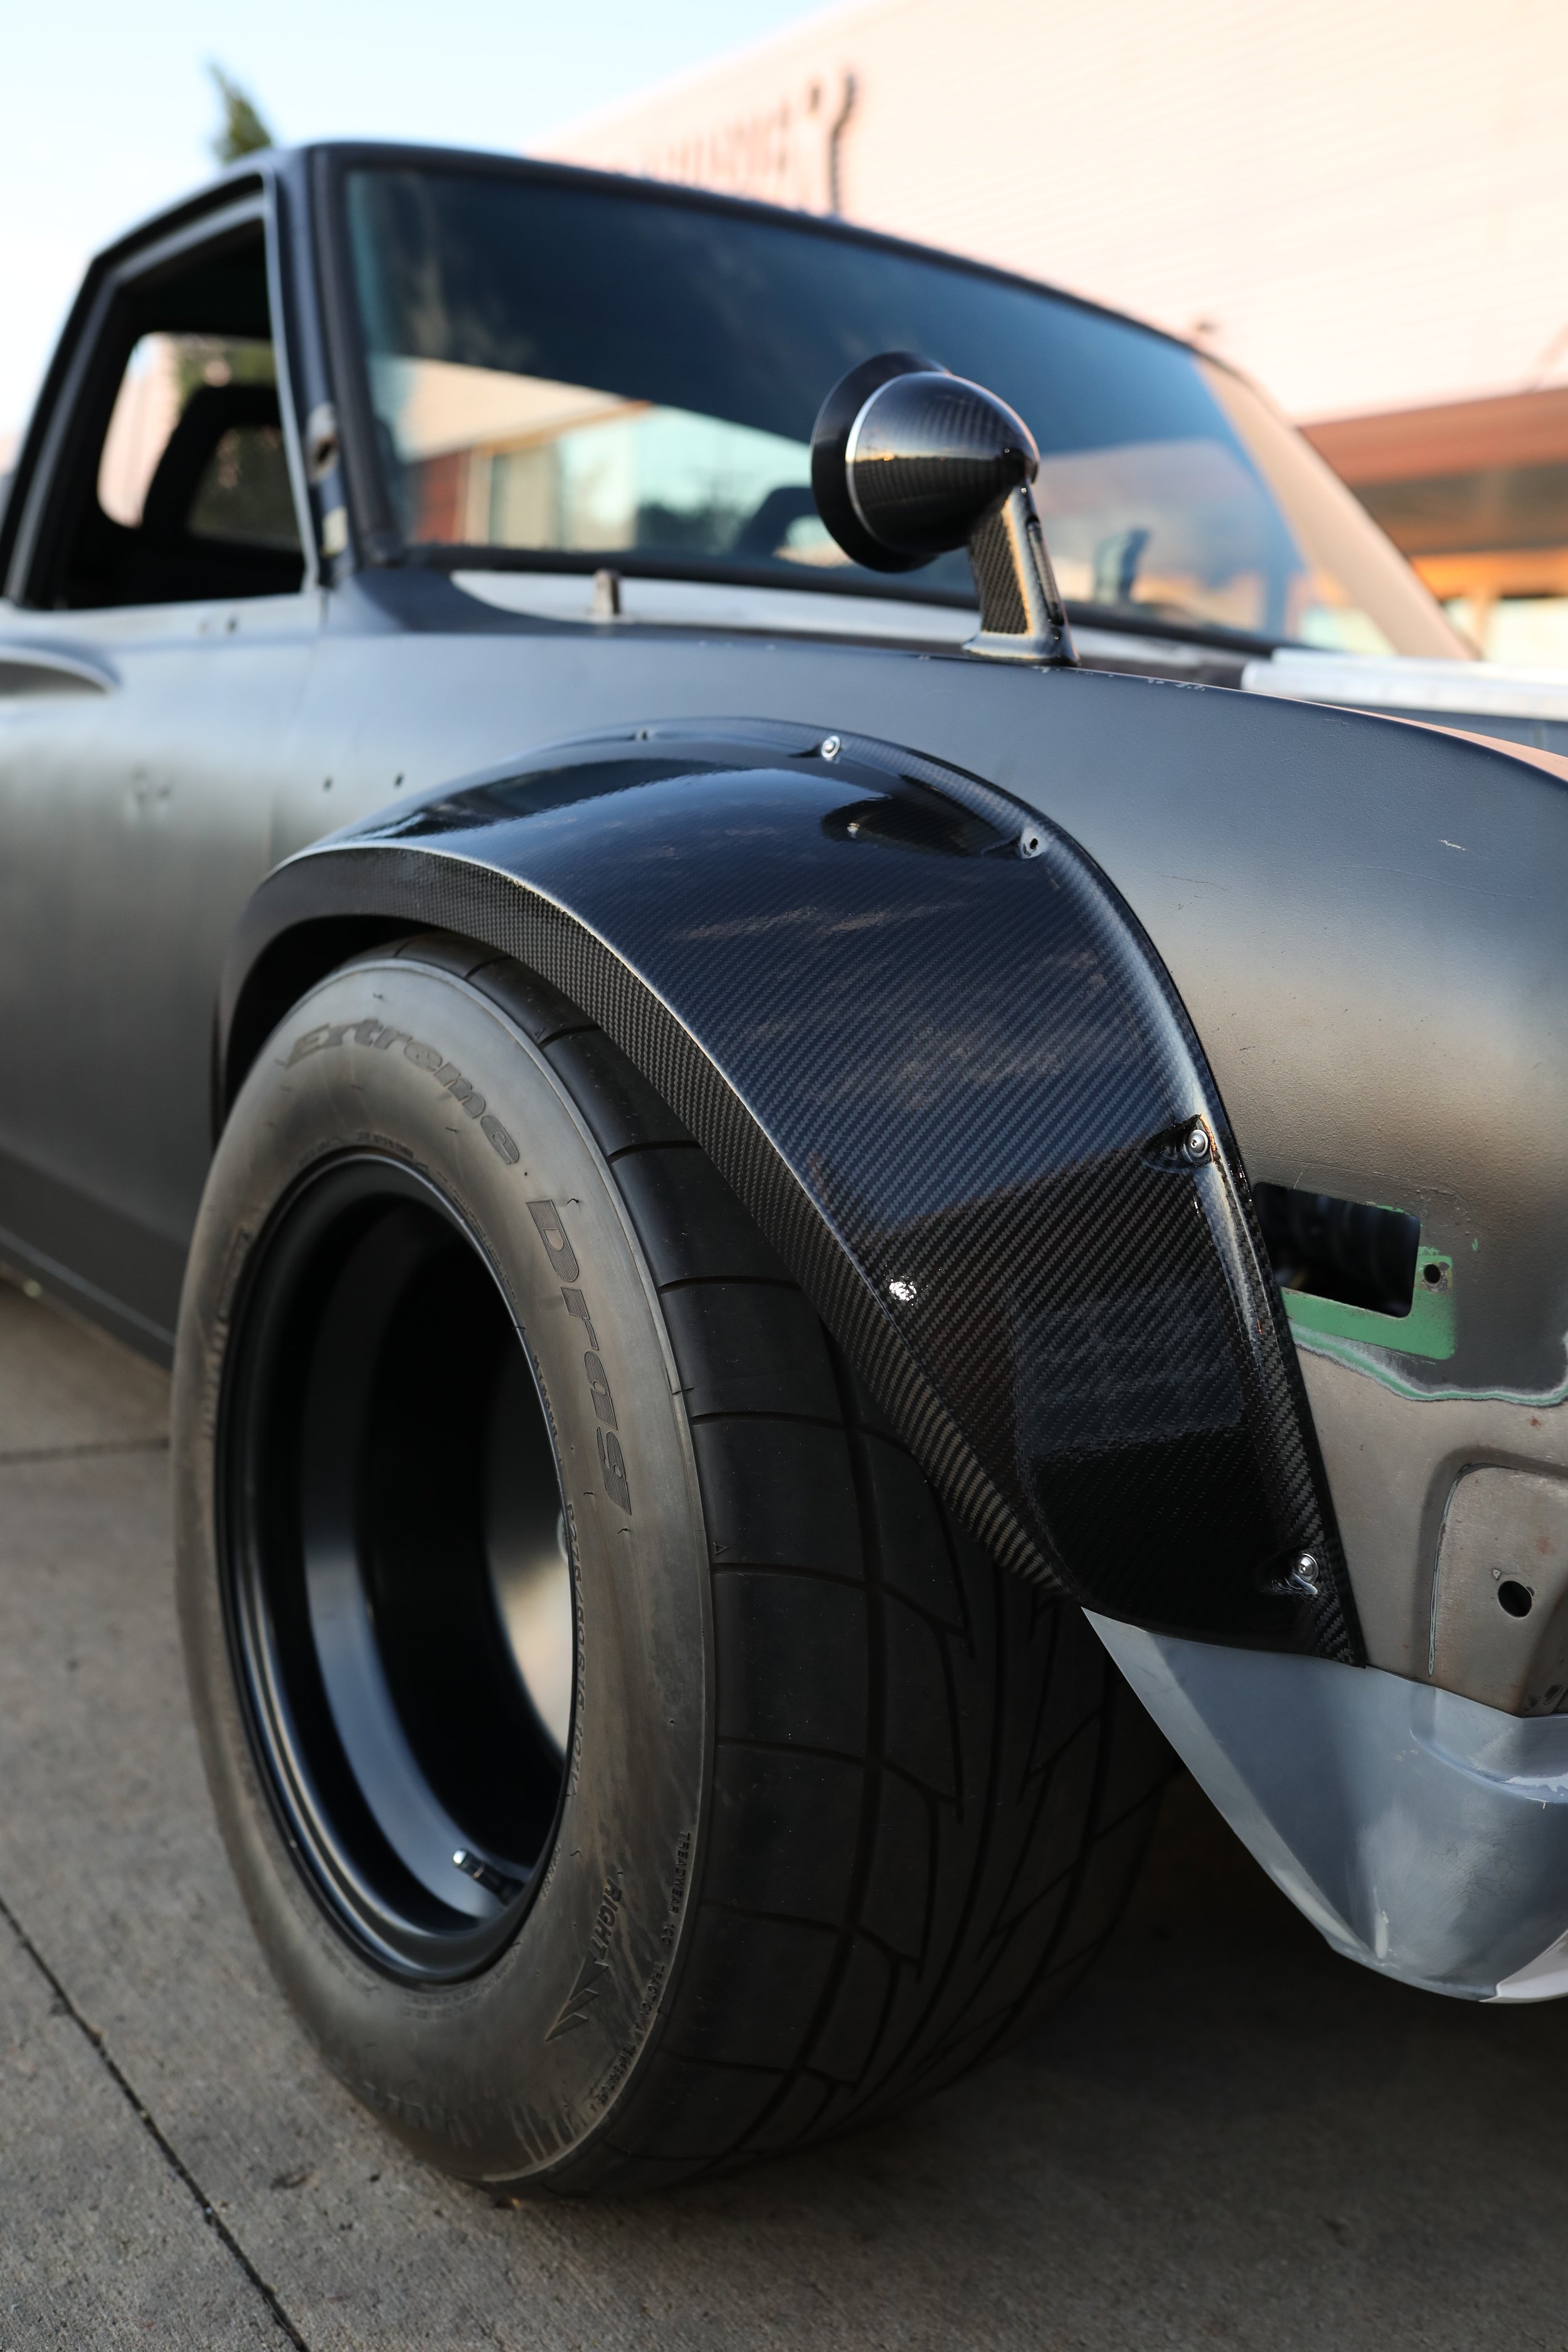
The project started with the design of the flares themselves, which was a very iterative and long process. I ended up with 7 different designs by the time it was finished and landed on the final version you see here. The wide track widths and specific wheel and tire selection drove the design of the arches more than anything else, which is where the overall flare width came into play. The biggest challenge was designing an opening for the front arches that could hug the front tire profile, but allow clearance for the tire through full turn with its large scrub and negative offset wheels.
Once the design was locked in, the flares were thickened in a way that would lend well to 3D printing the parts, adding more material bulk at the back side of the parts where it wouldn’t disturb the overall design. The part shapes would be difficult to control due to their large size and using relatively soft PLA plastic, so I designed in steel retaining guides inside the flares that run the full length and shape of the parts. These locked into the flare sections and did an amazing job of holding the true shape of the part. I also made sure that the parts were still able to be bolted to the sides of the truck for fitment checks along the way, which was an important part of the procedure as a check and balance.
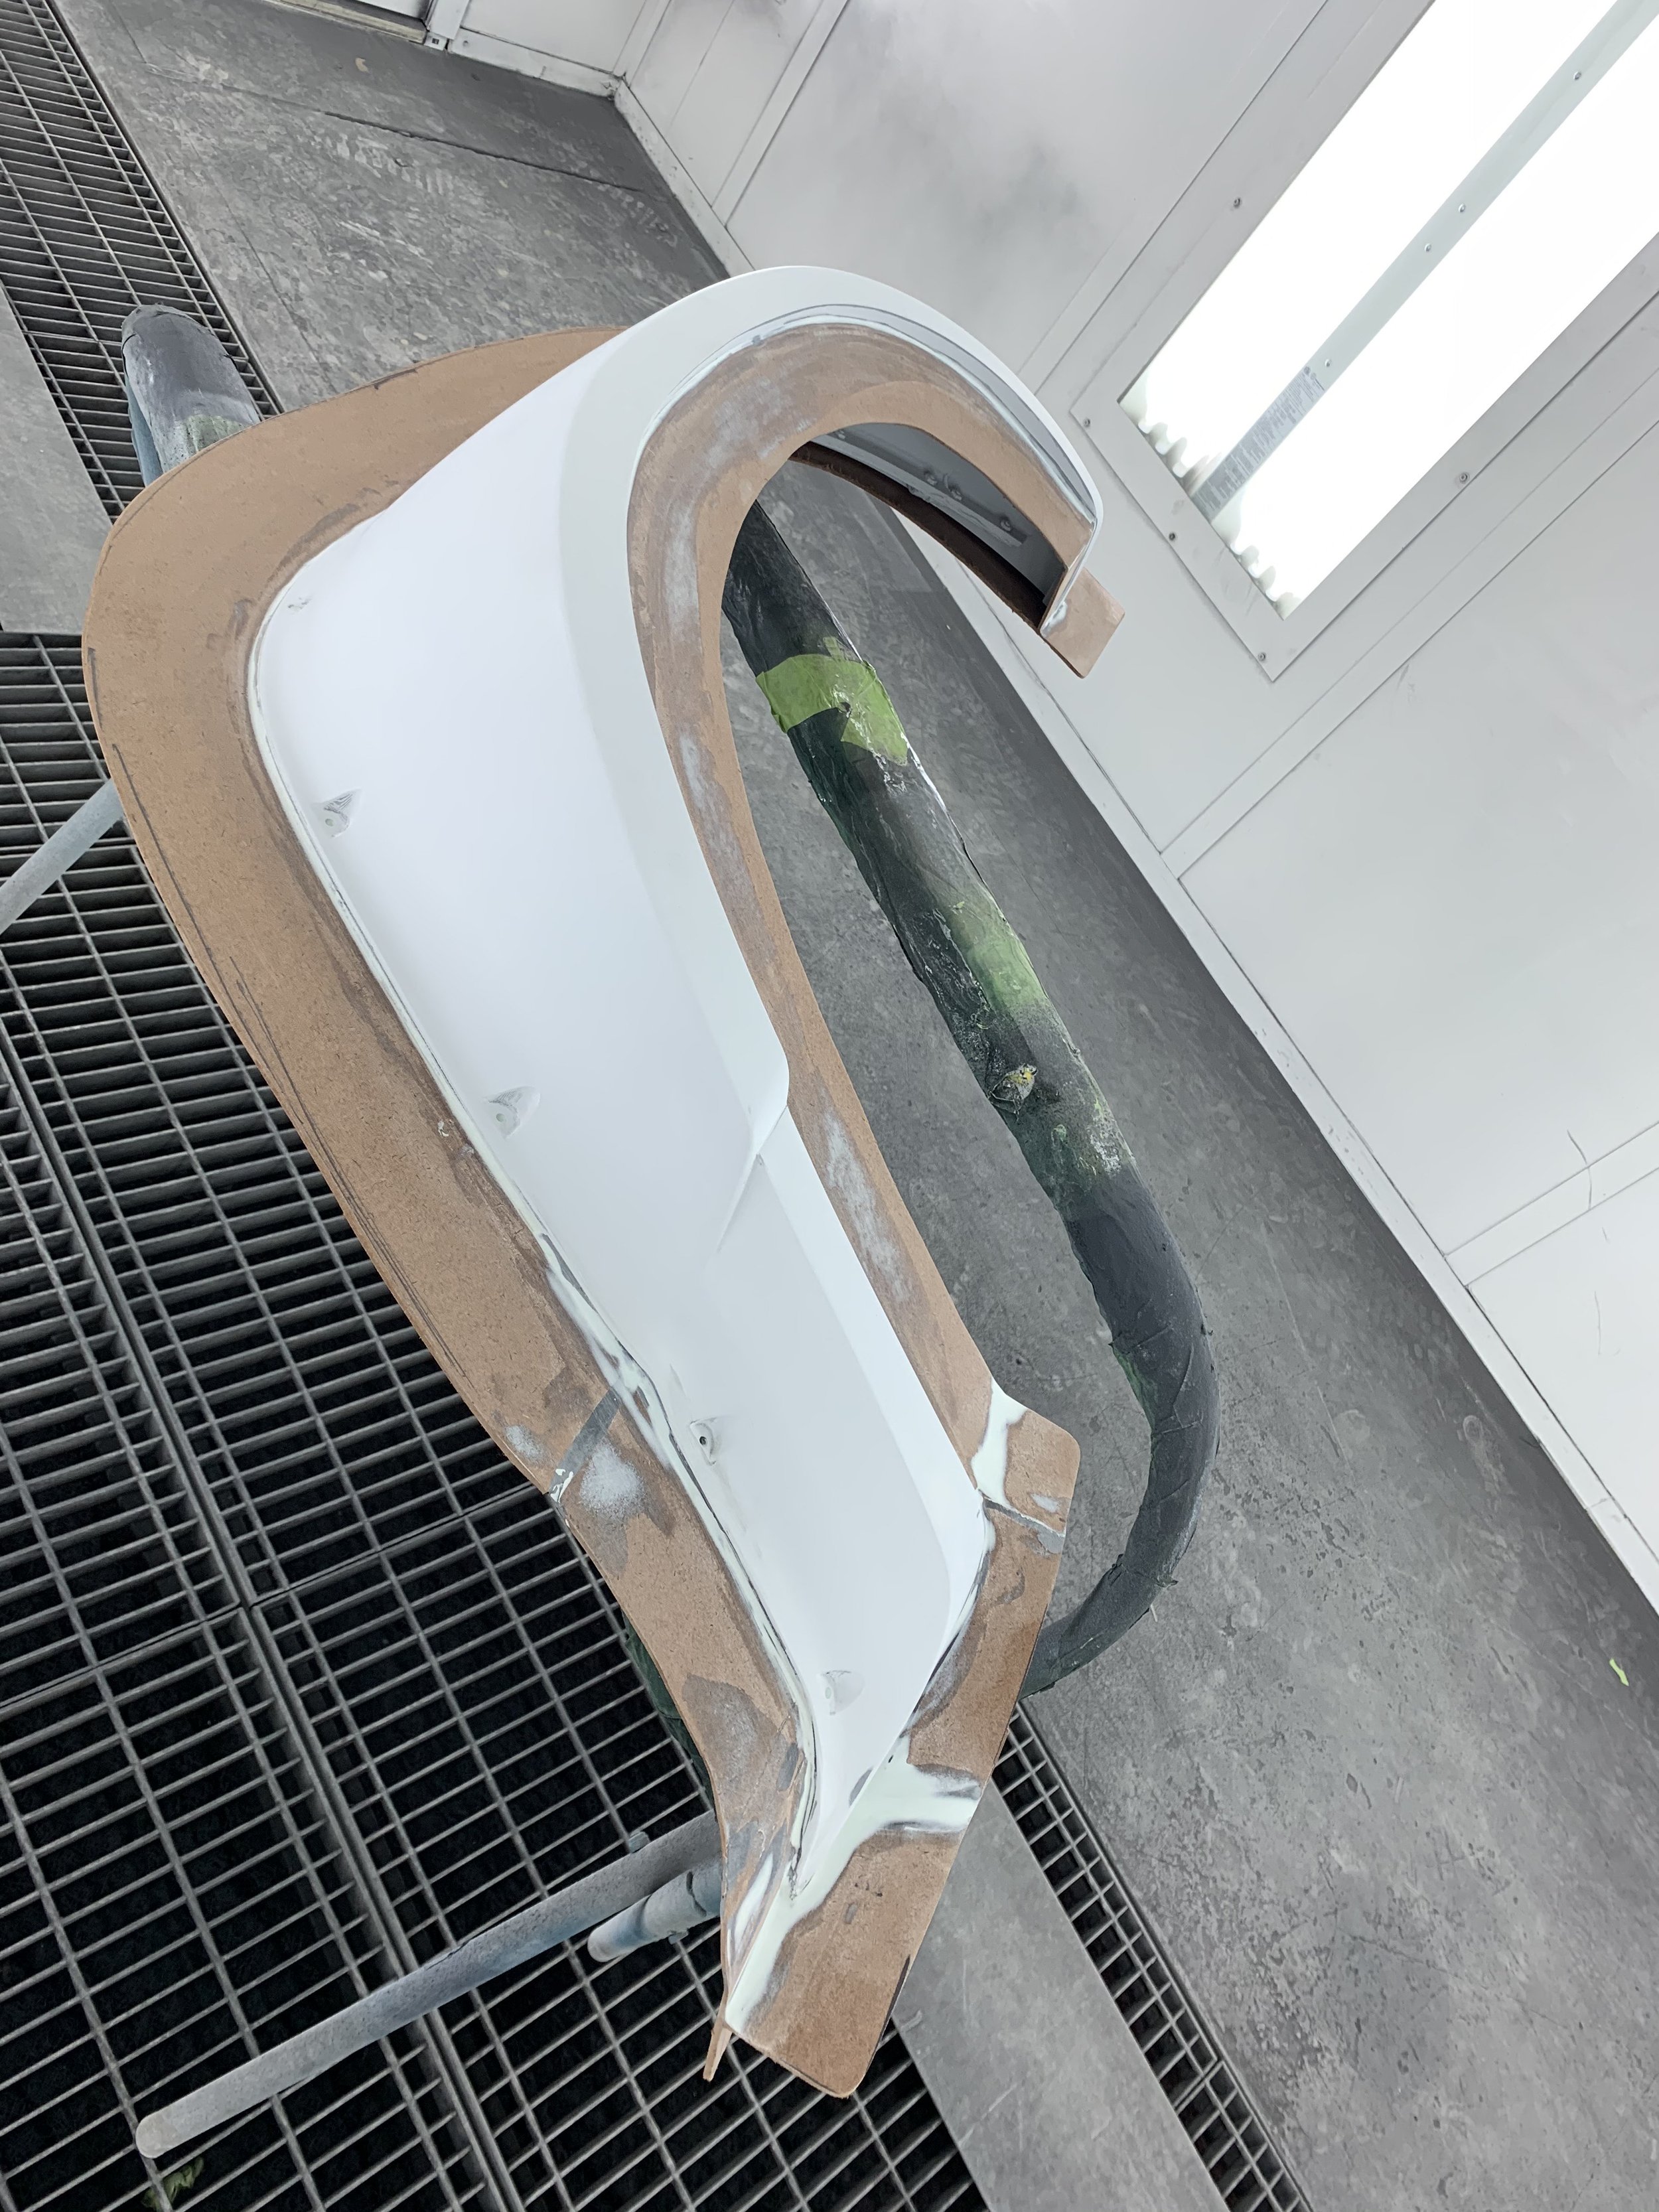
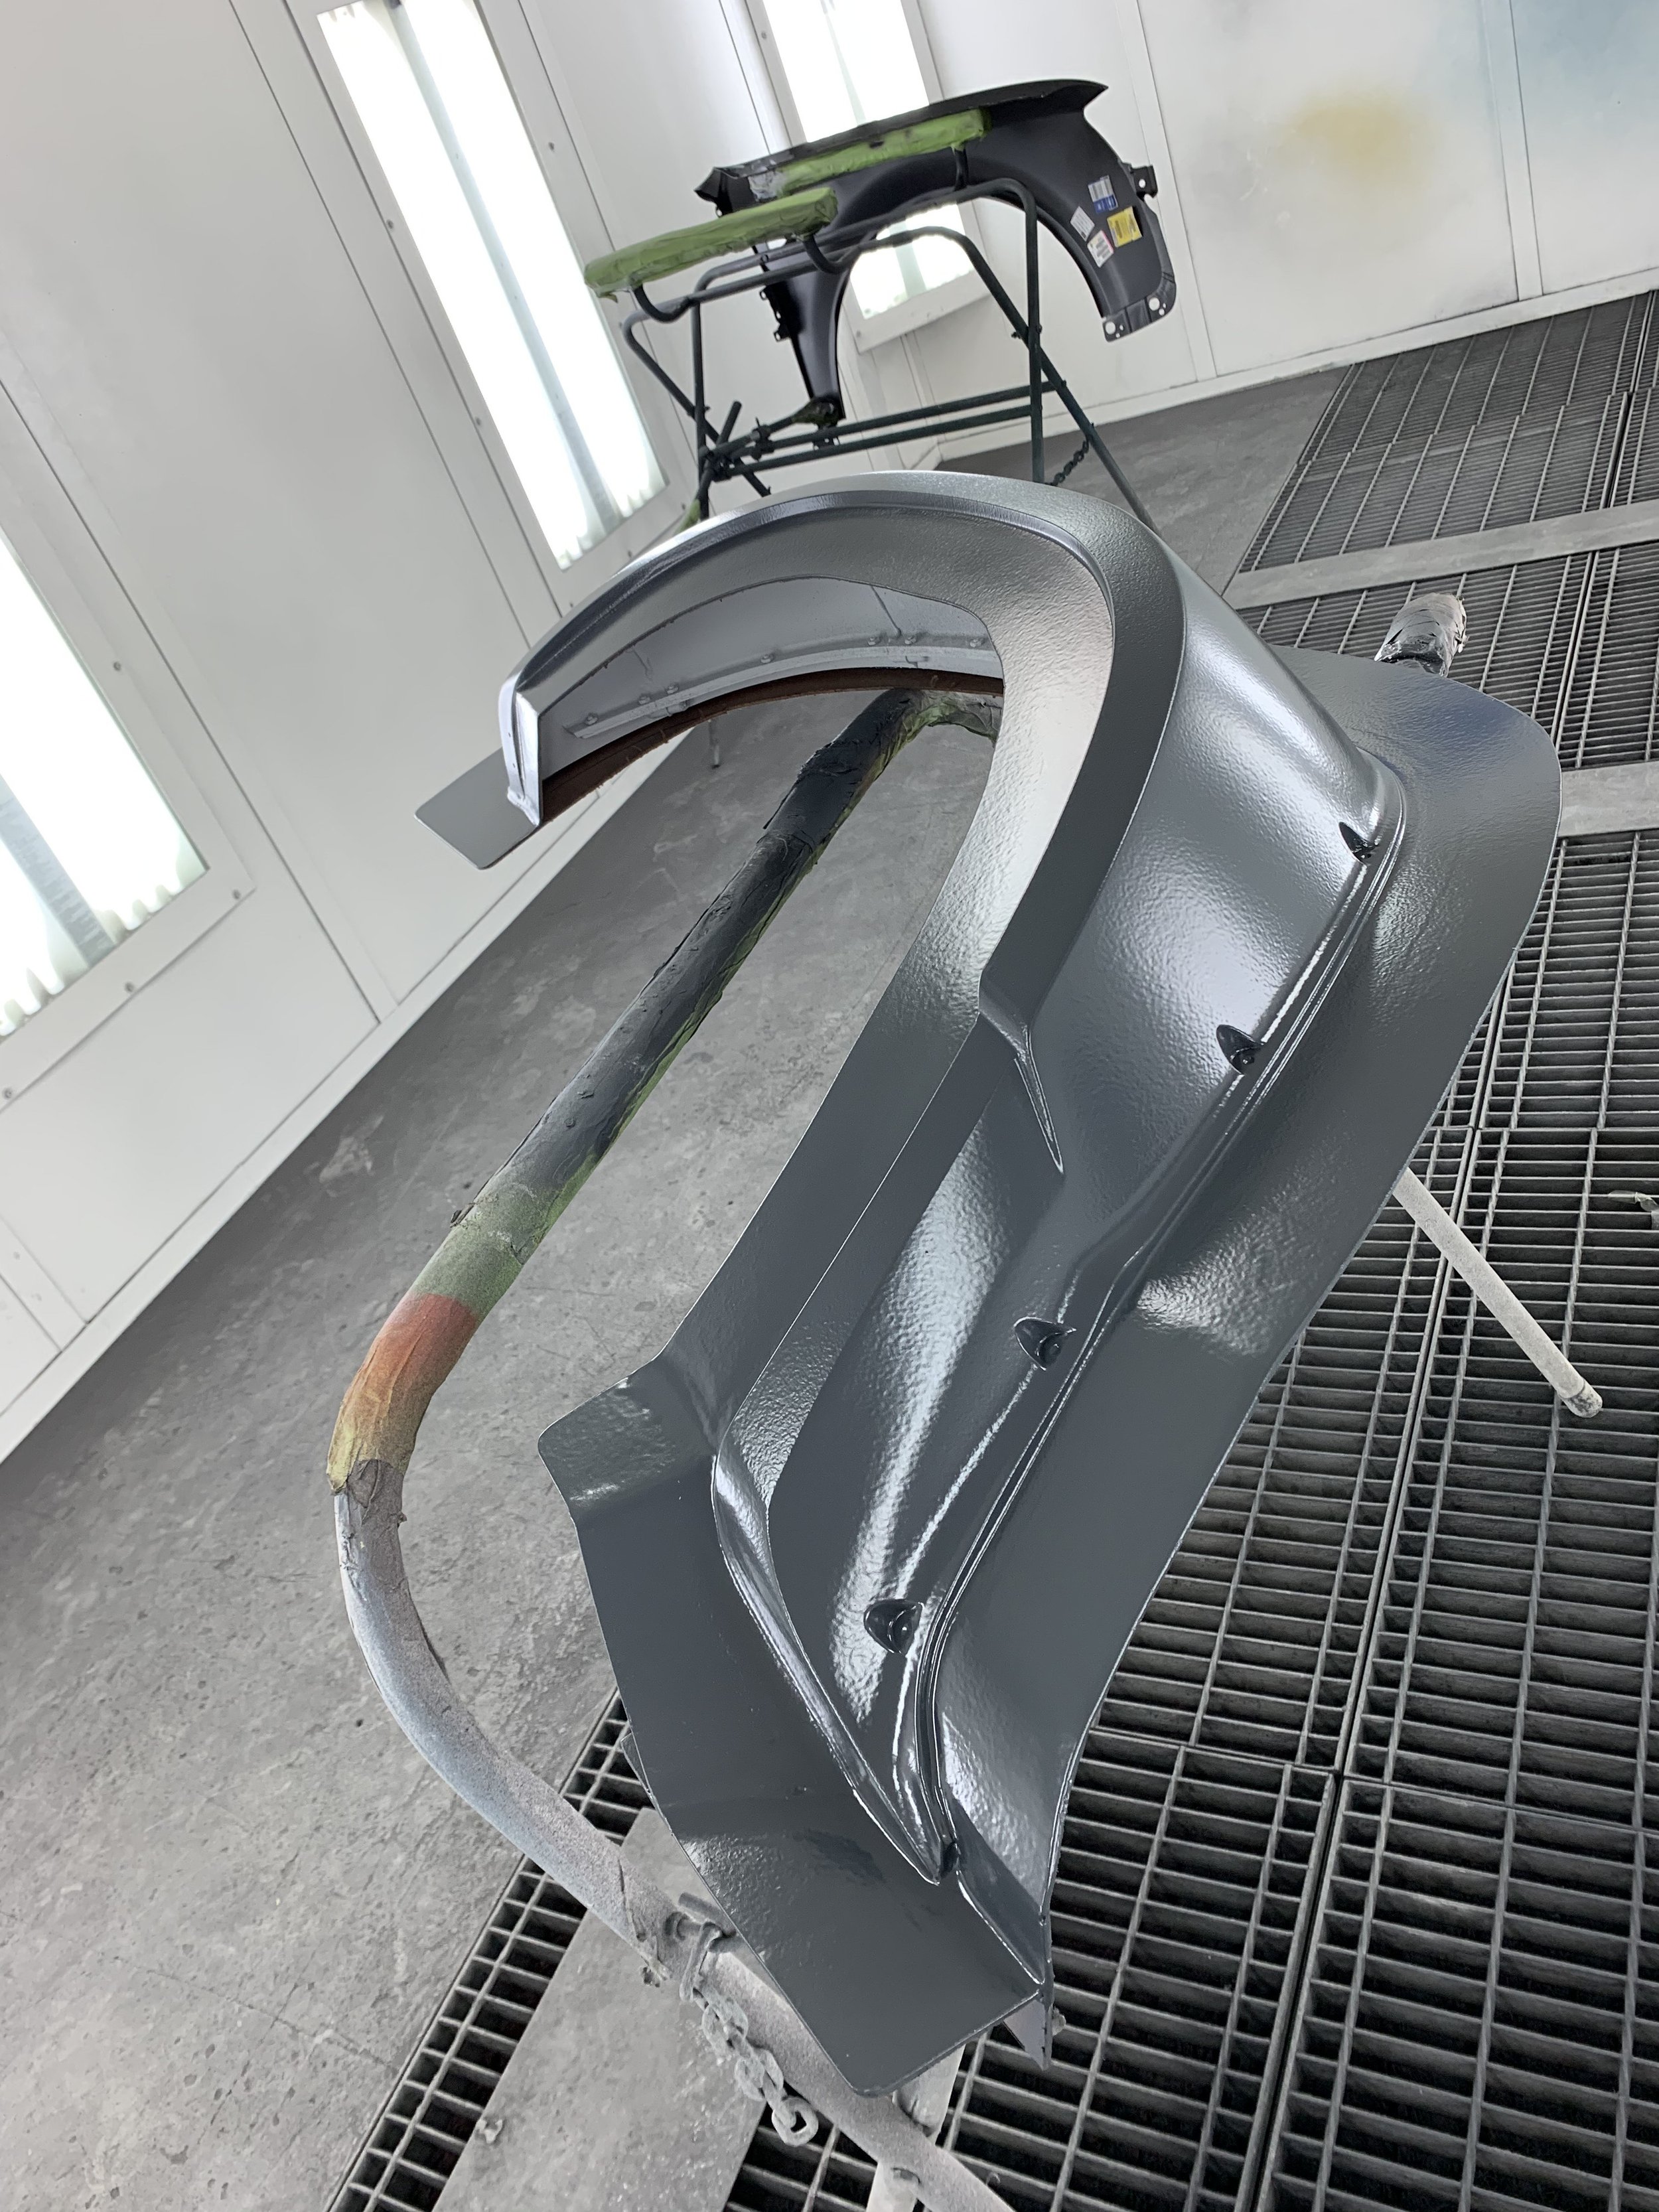
The individual printed sections were glued together using 3M panel bond adhesive, and once cured the adhesive was cleaned around all the seams. The parts were toothed with an 80 grit DA sander, and received several thick coats of high build poly primer. The 3d printed parts’ terraced print lines were easily flood filled with the thick poly primer coverage, and there was enough material on top to block the flares into their true smooth forms.
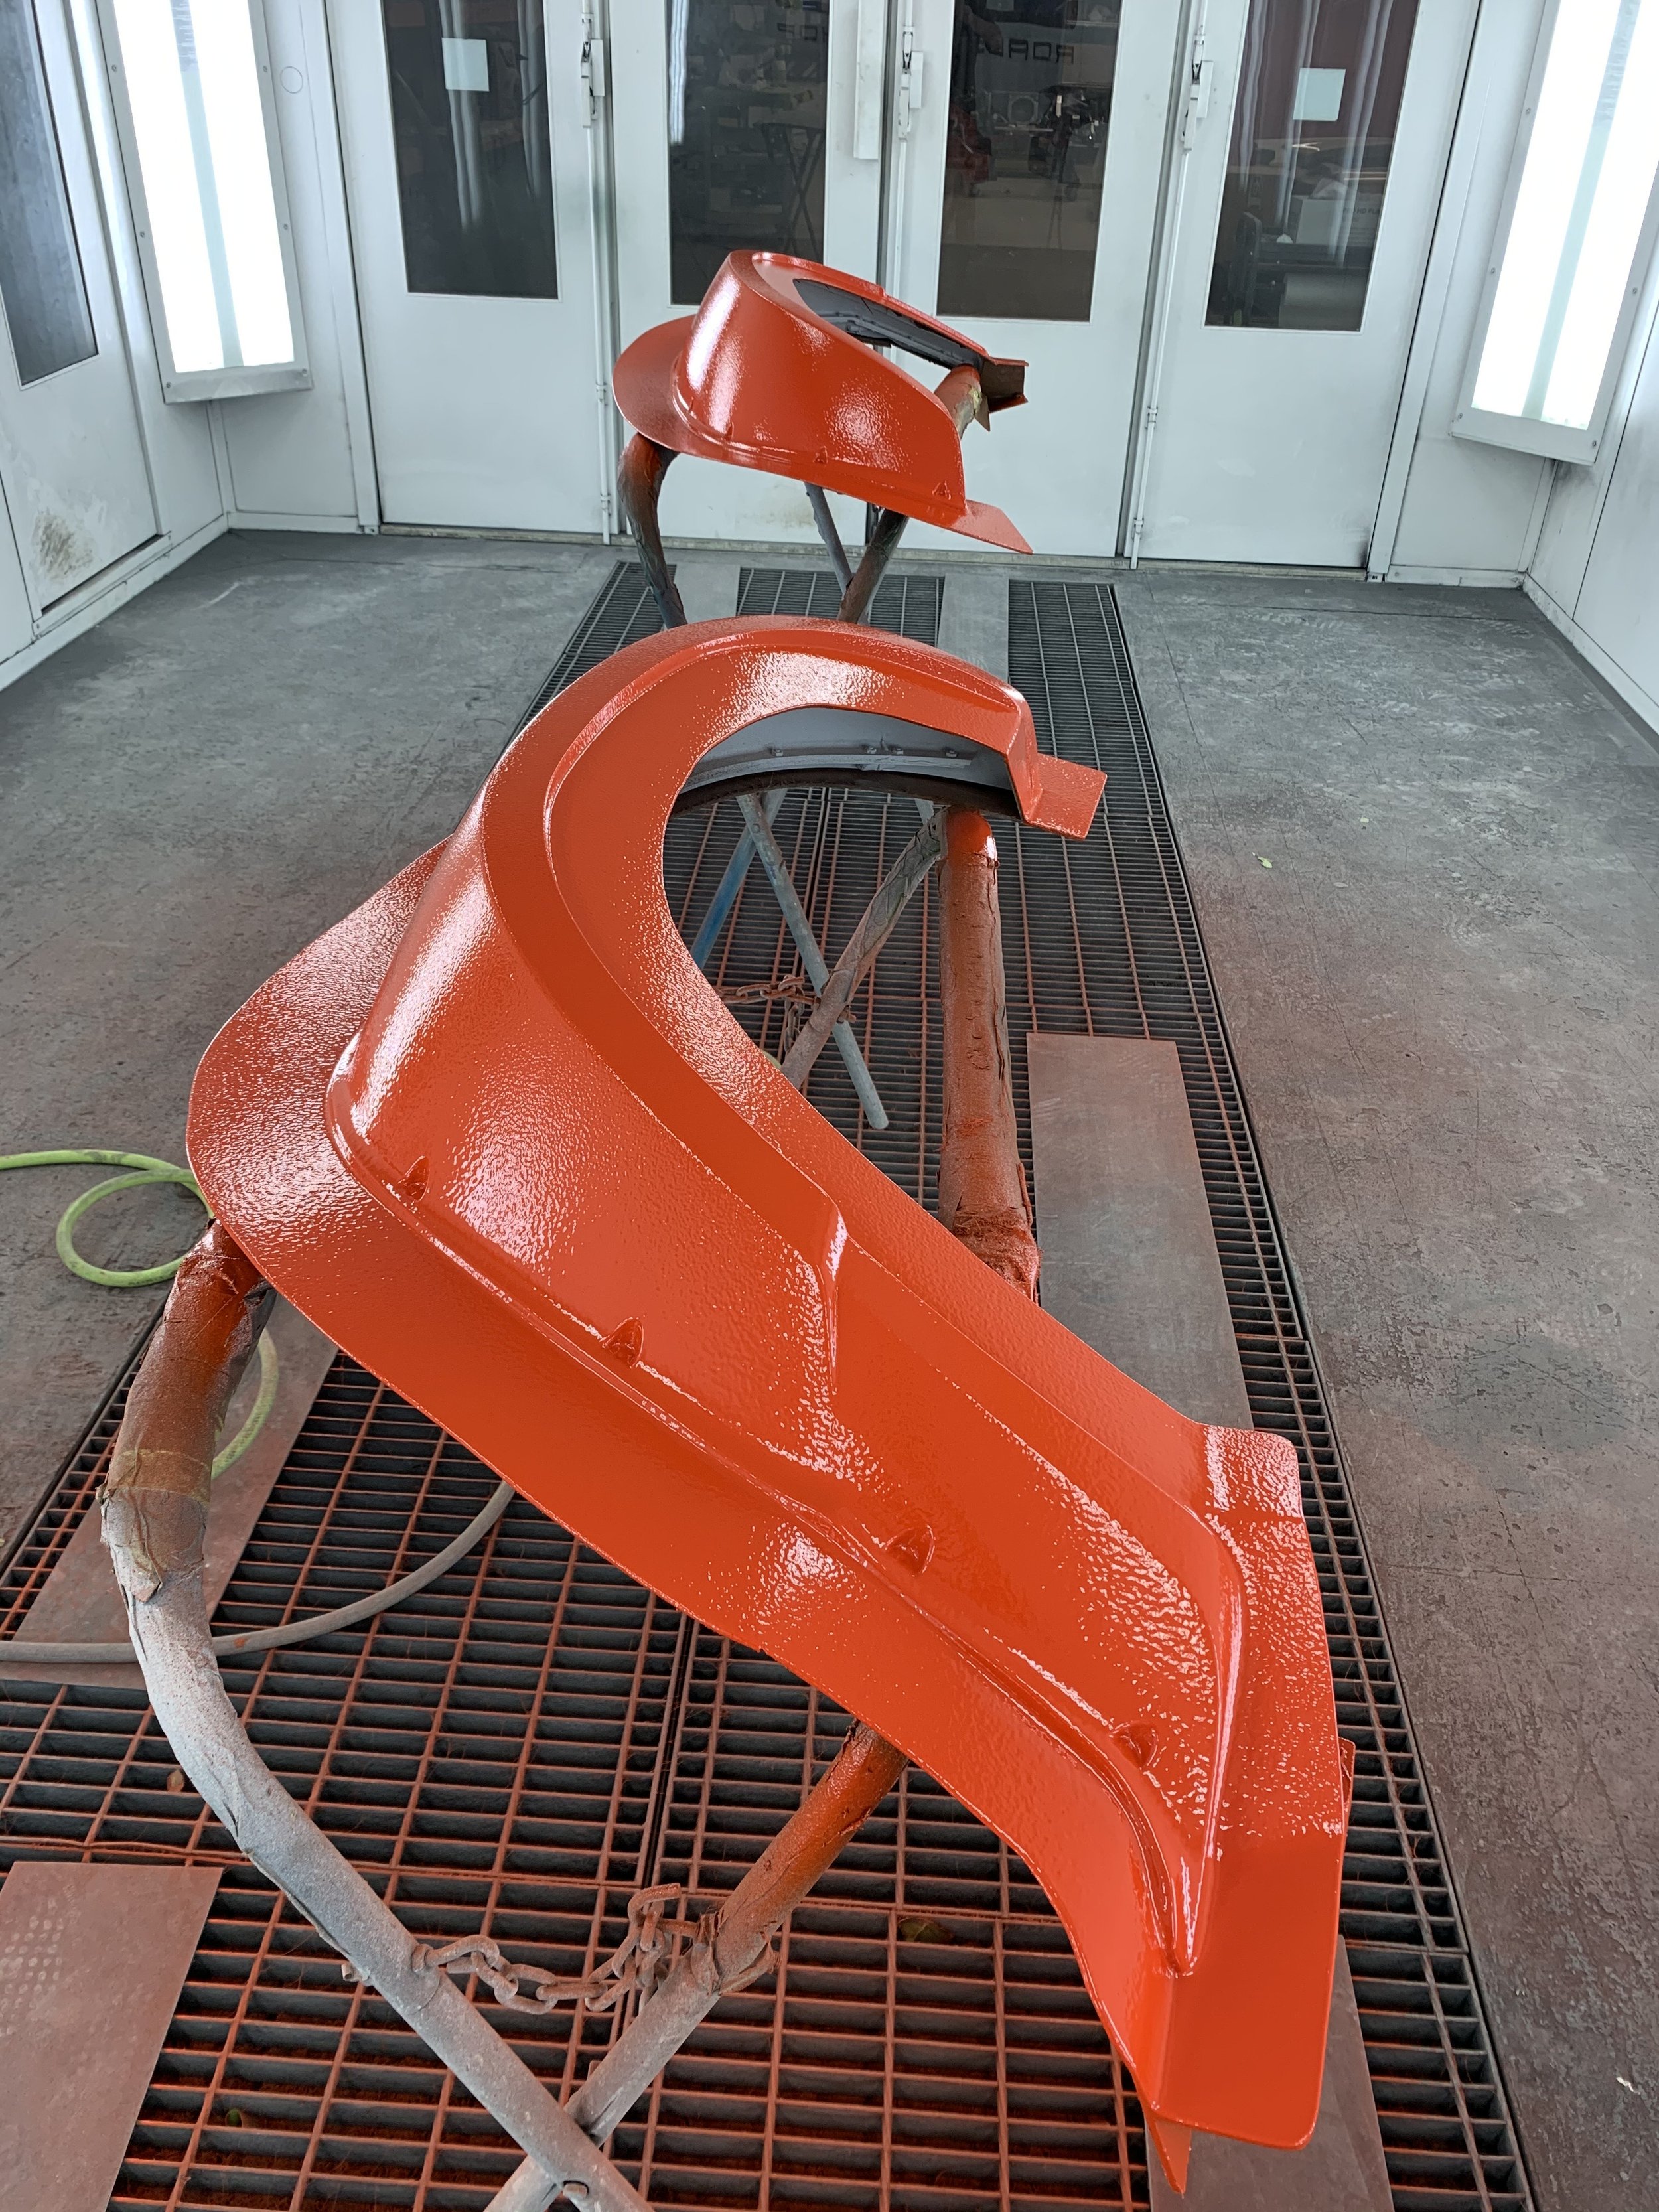
After considerable time blocking and dialing in the overall shape of the flares through primer, I test fit the flares one last time to the body and confirmed everything fit as it should. I then added masonite flanges around the flares in preparation for the mold. I opted to spray and bodywork the flanges and flares together to get the best possible mold from the plug, and continued to bodywork the plug to a mirror gloss with its flanges. Once the plugs were finished, traditional mold making techniques were used to generate a female mold over the plugs using gel coat and hand laminated fiberglass.
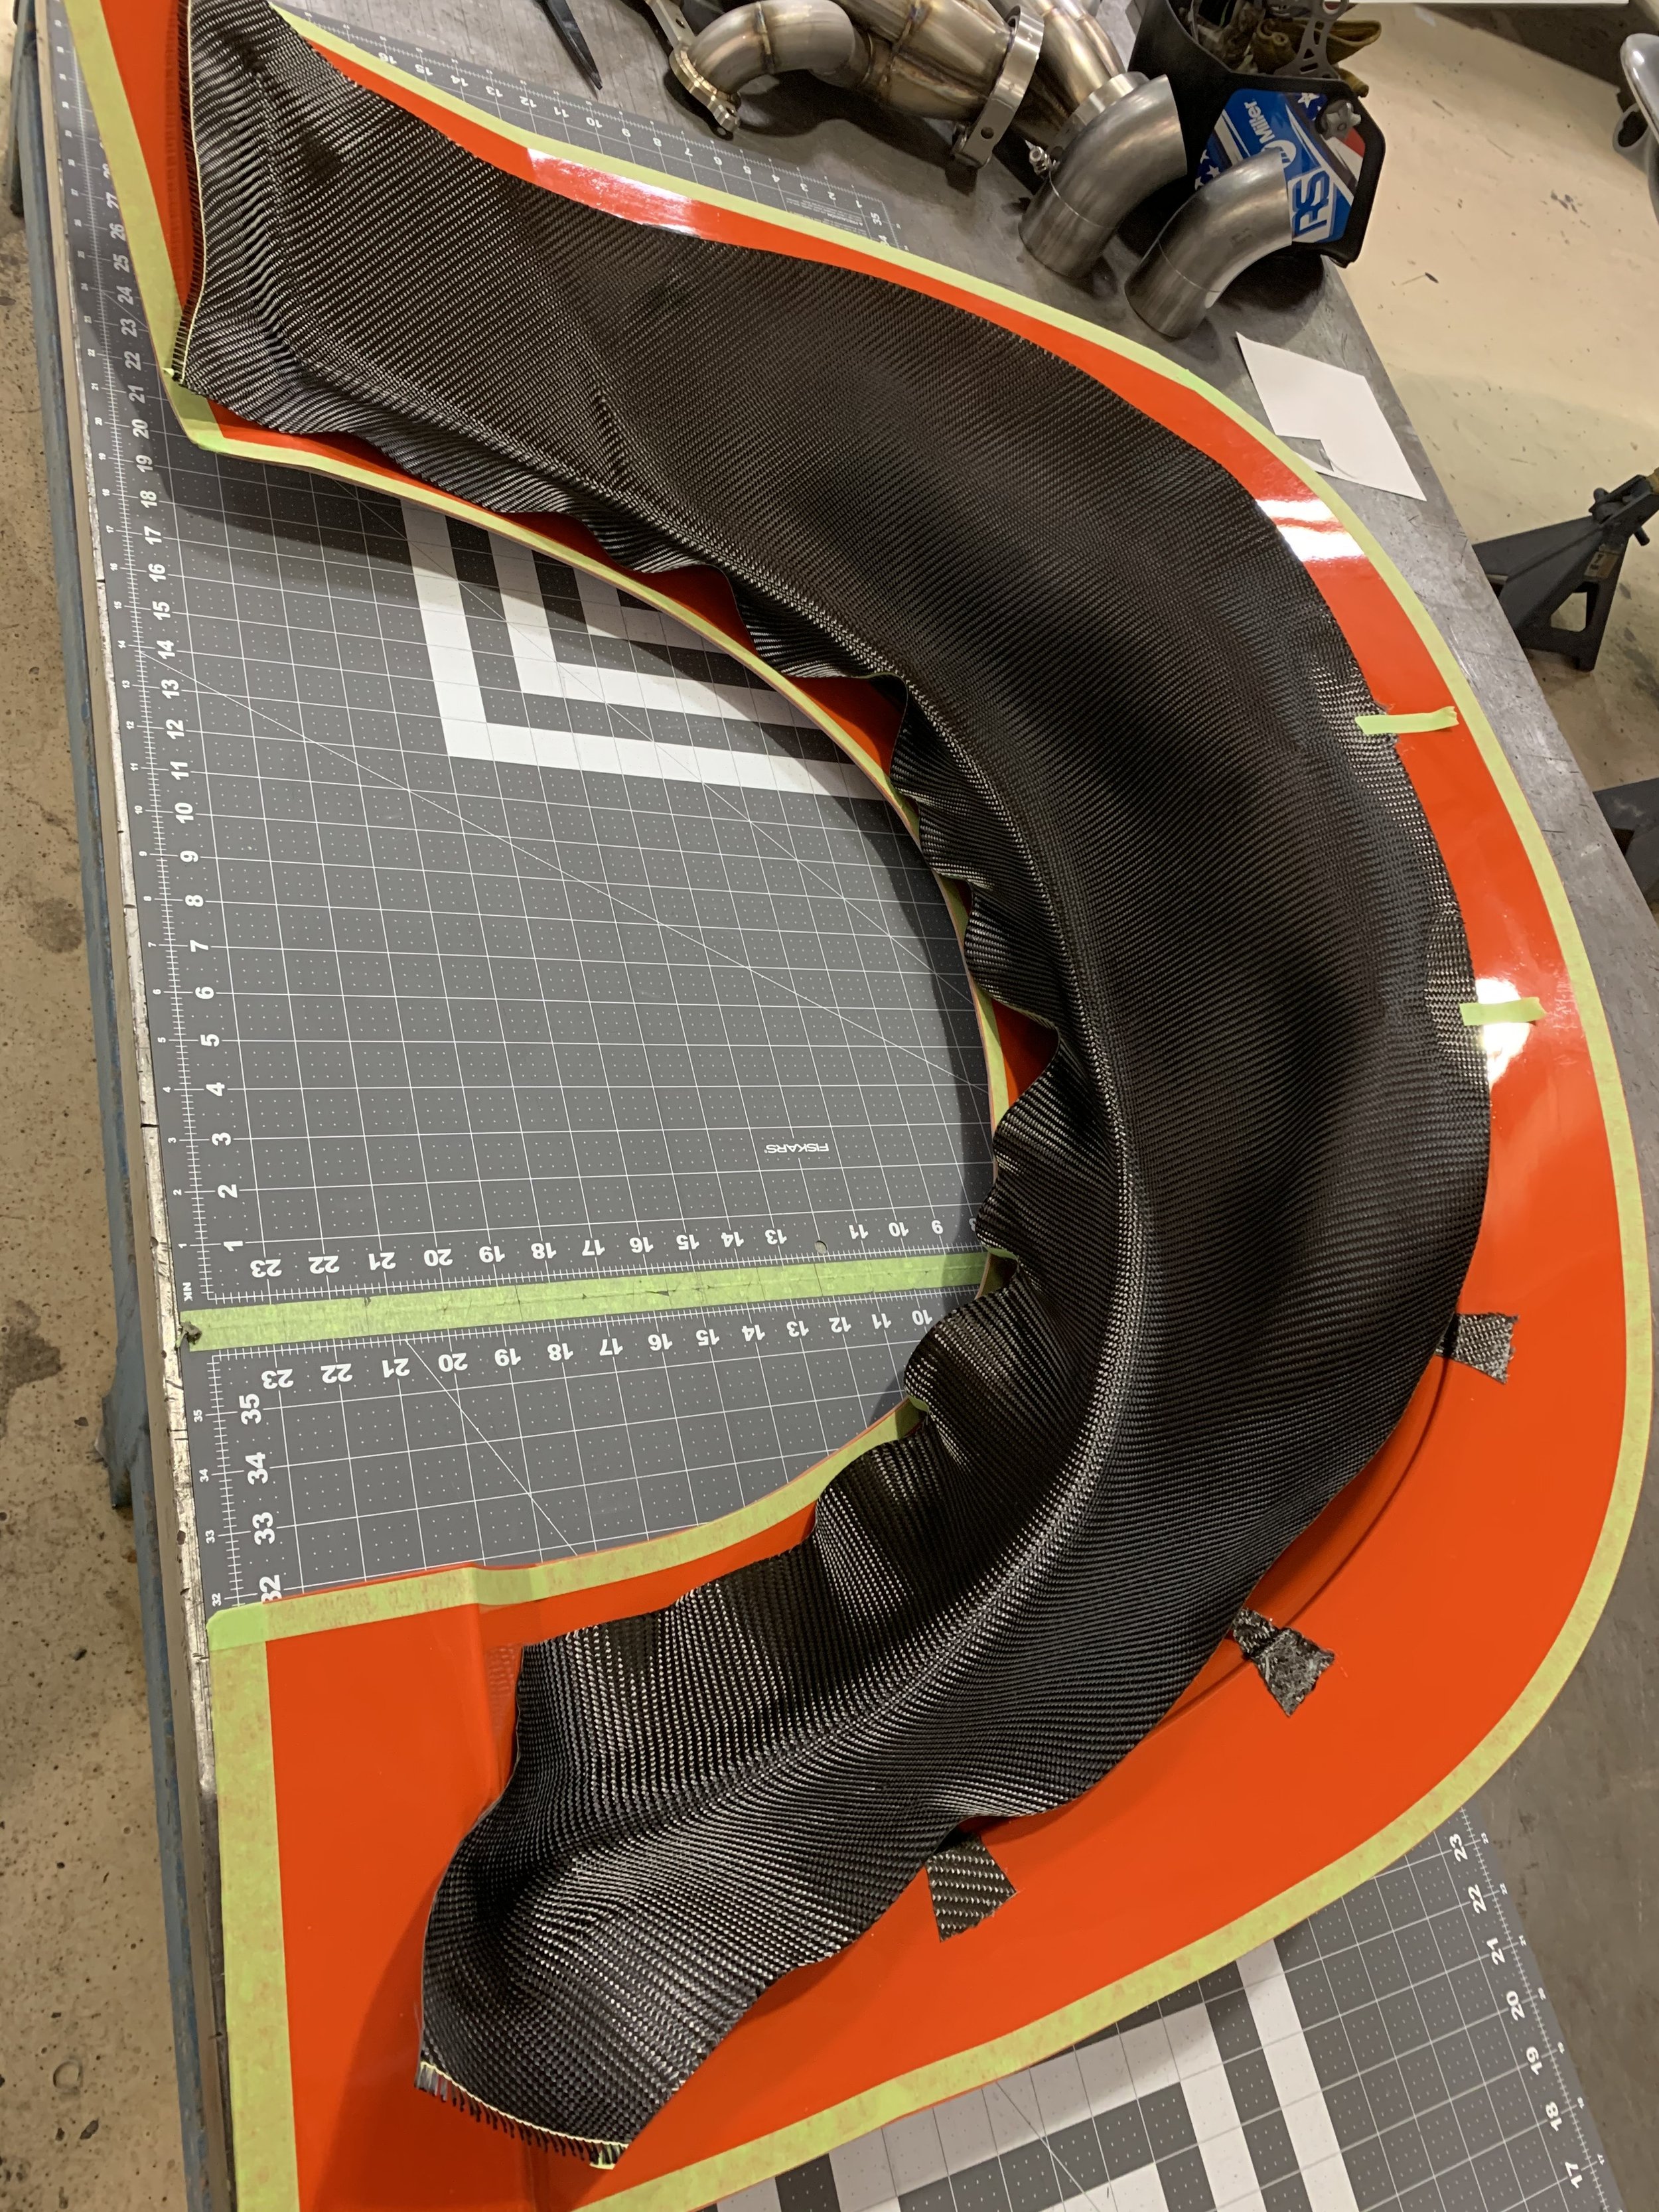
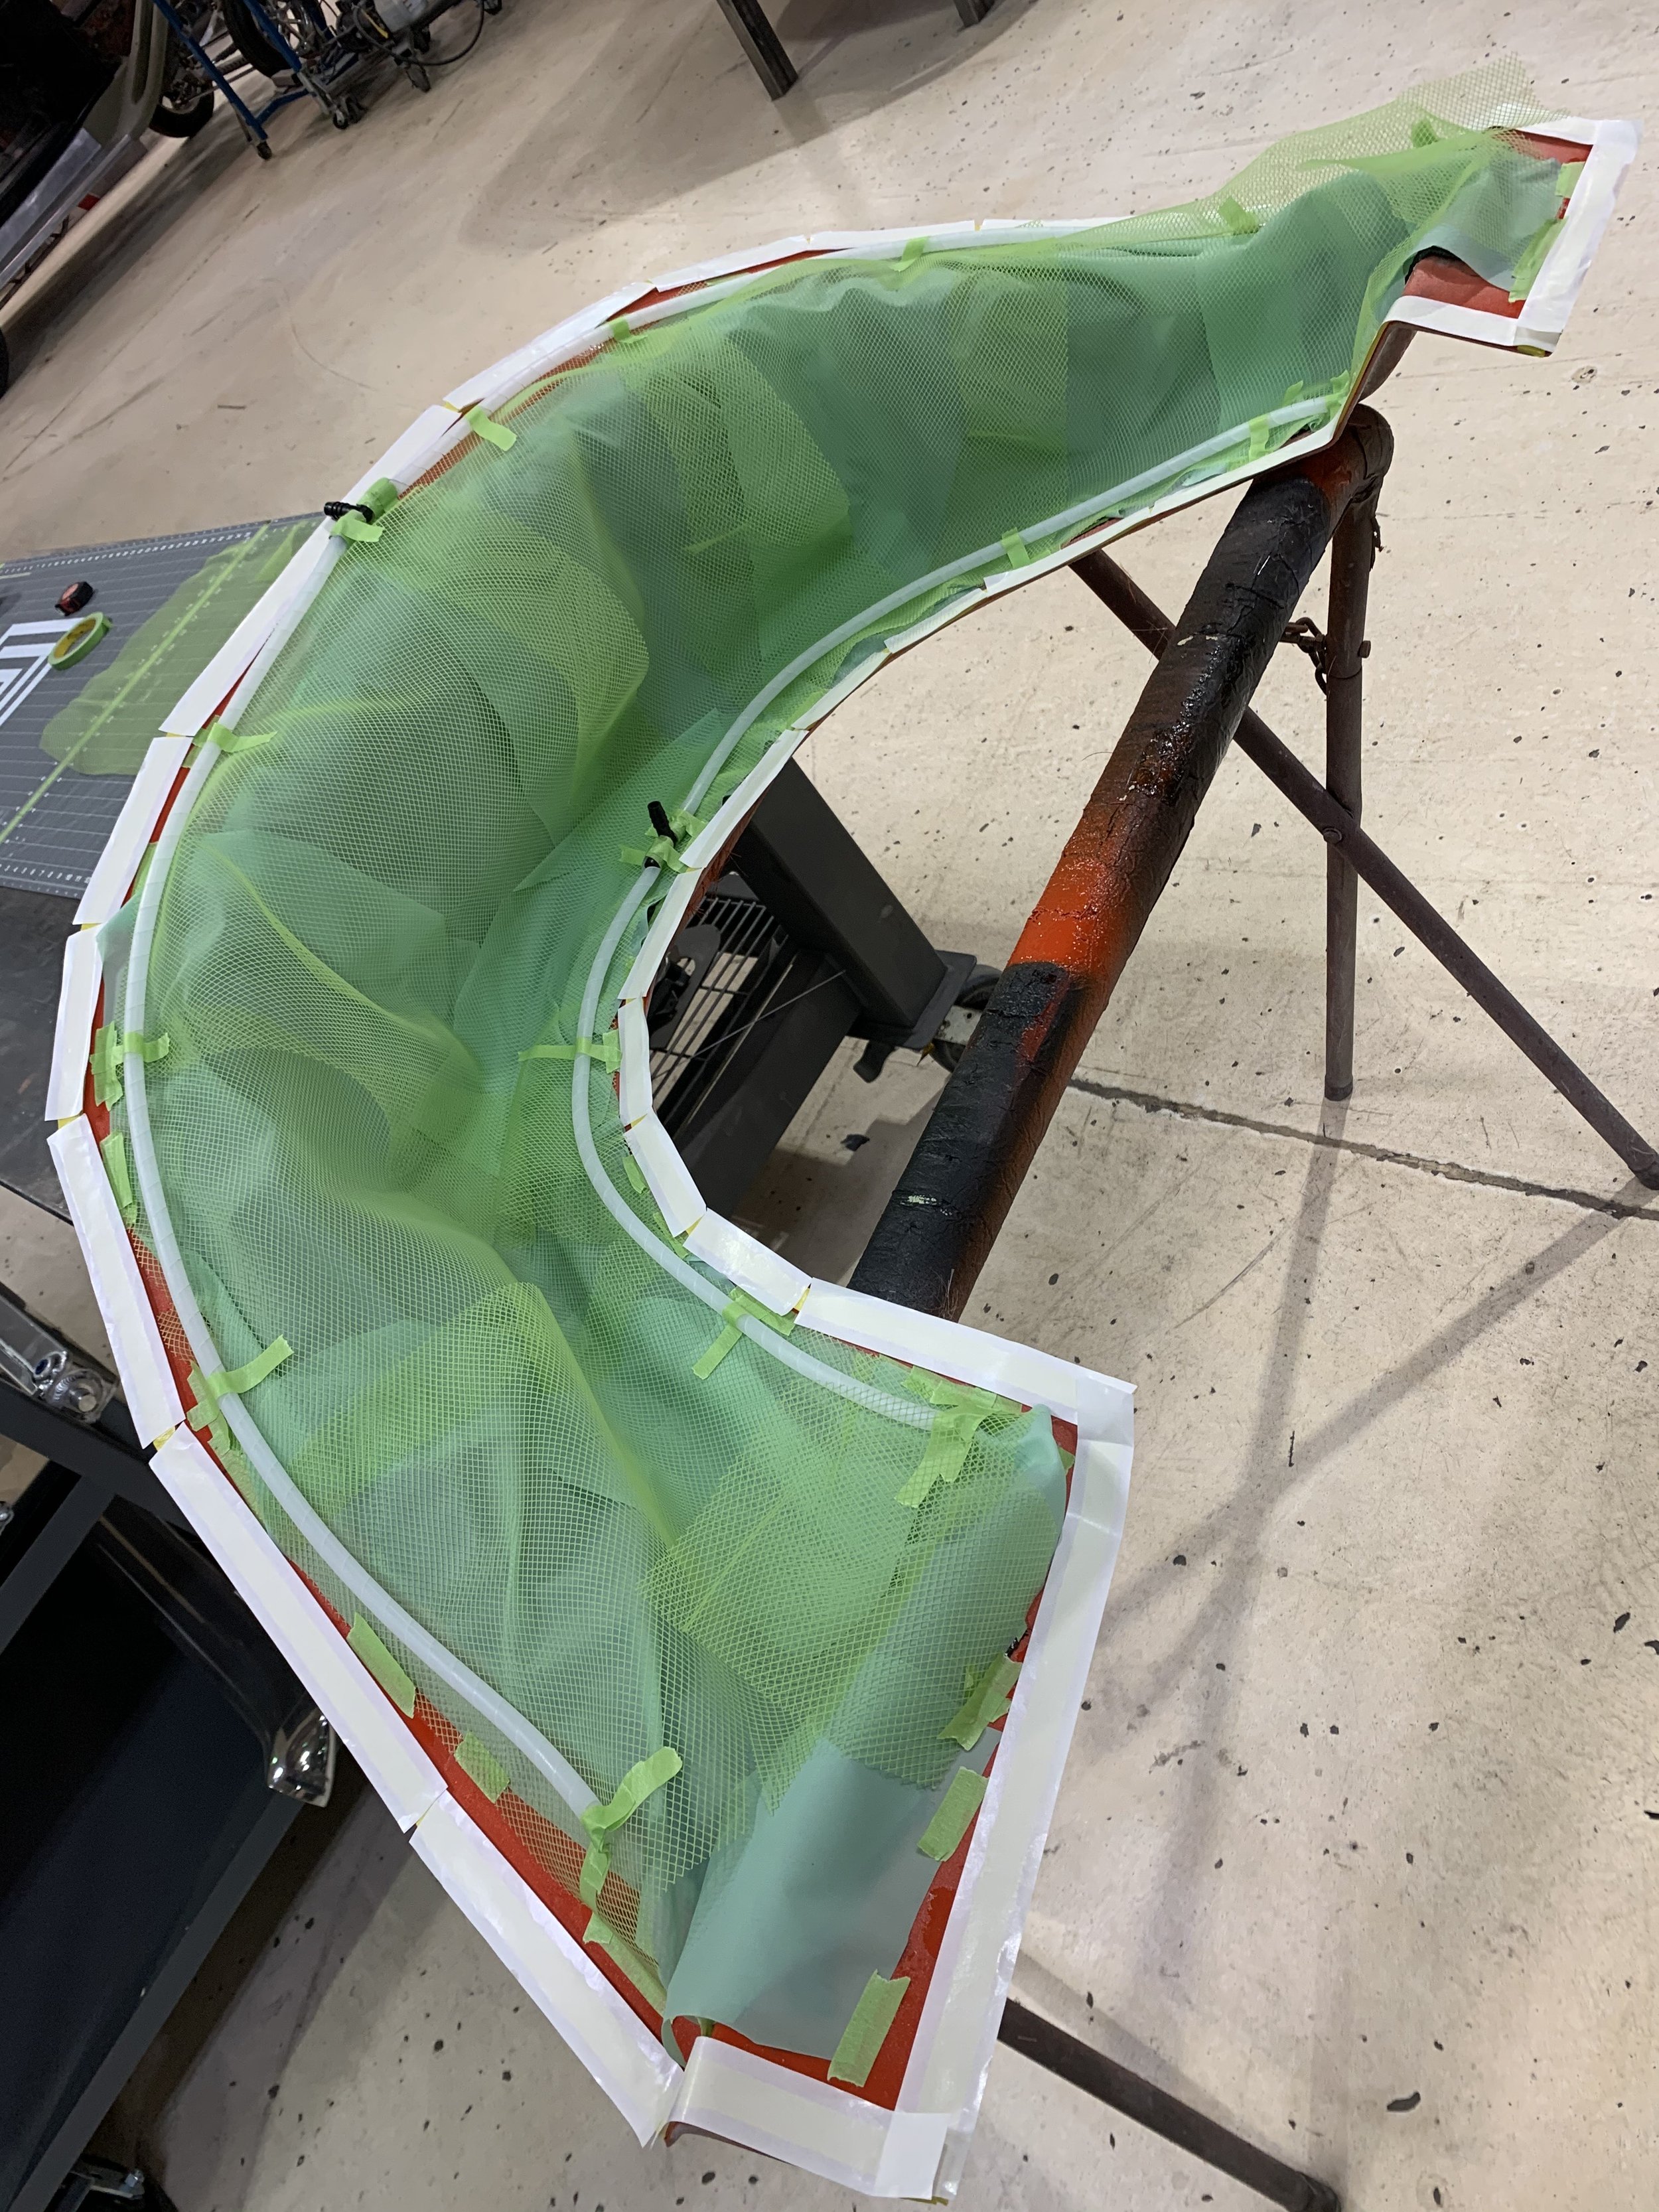
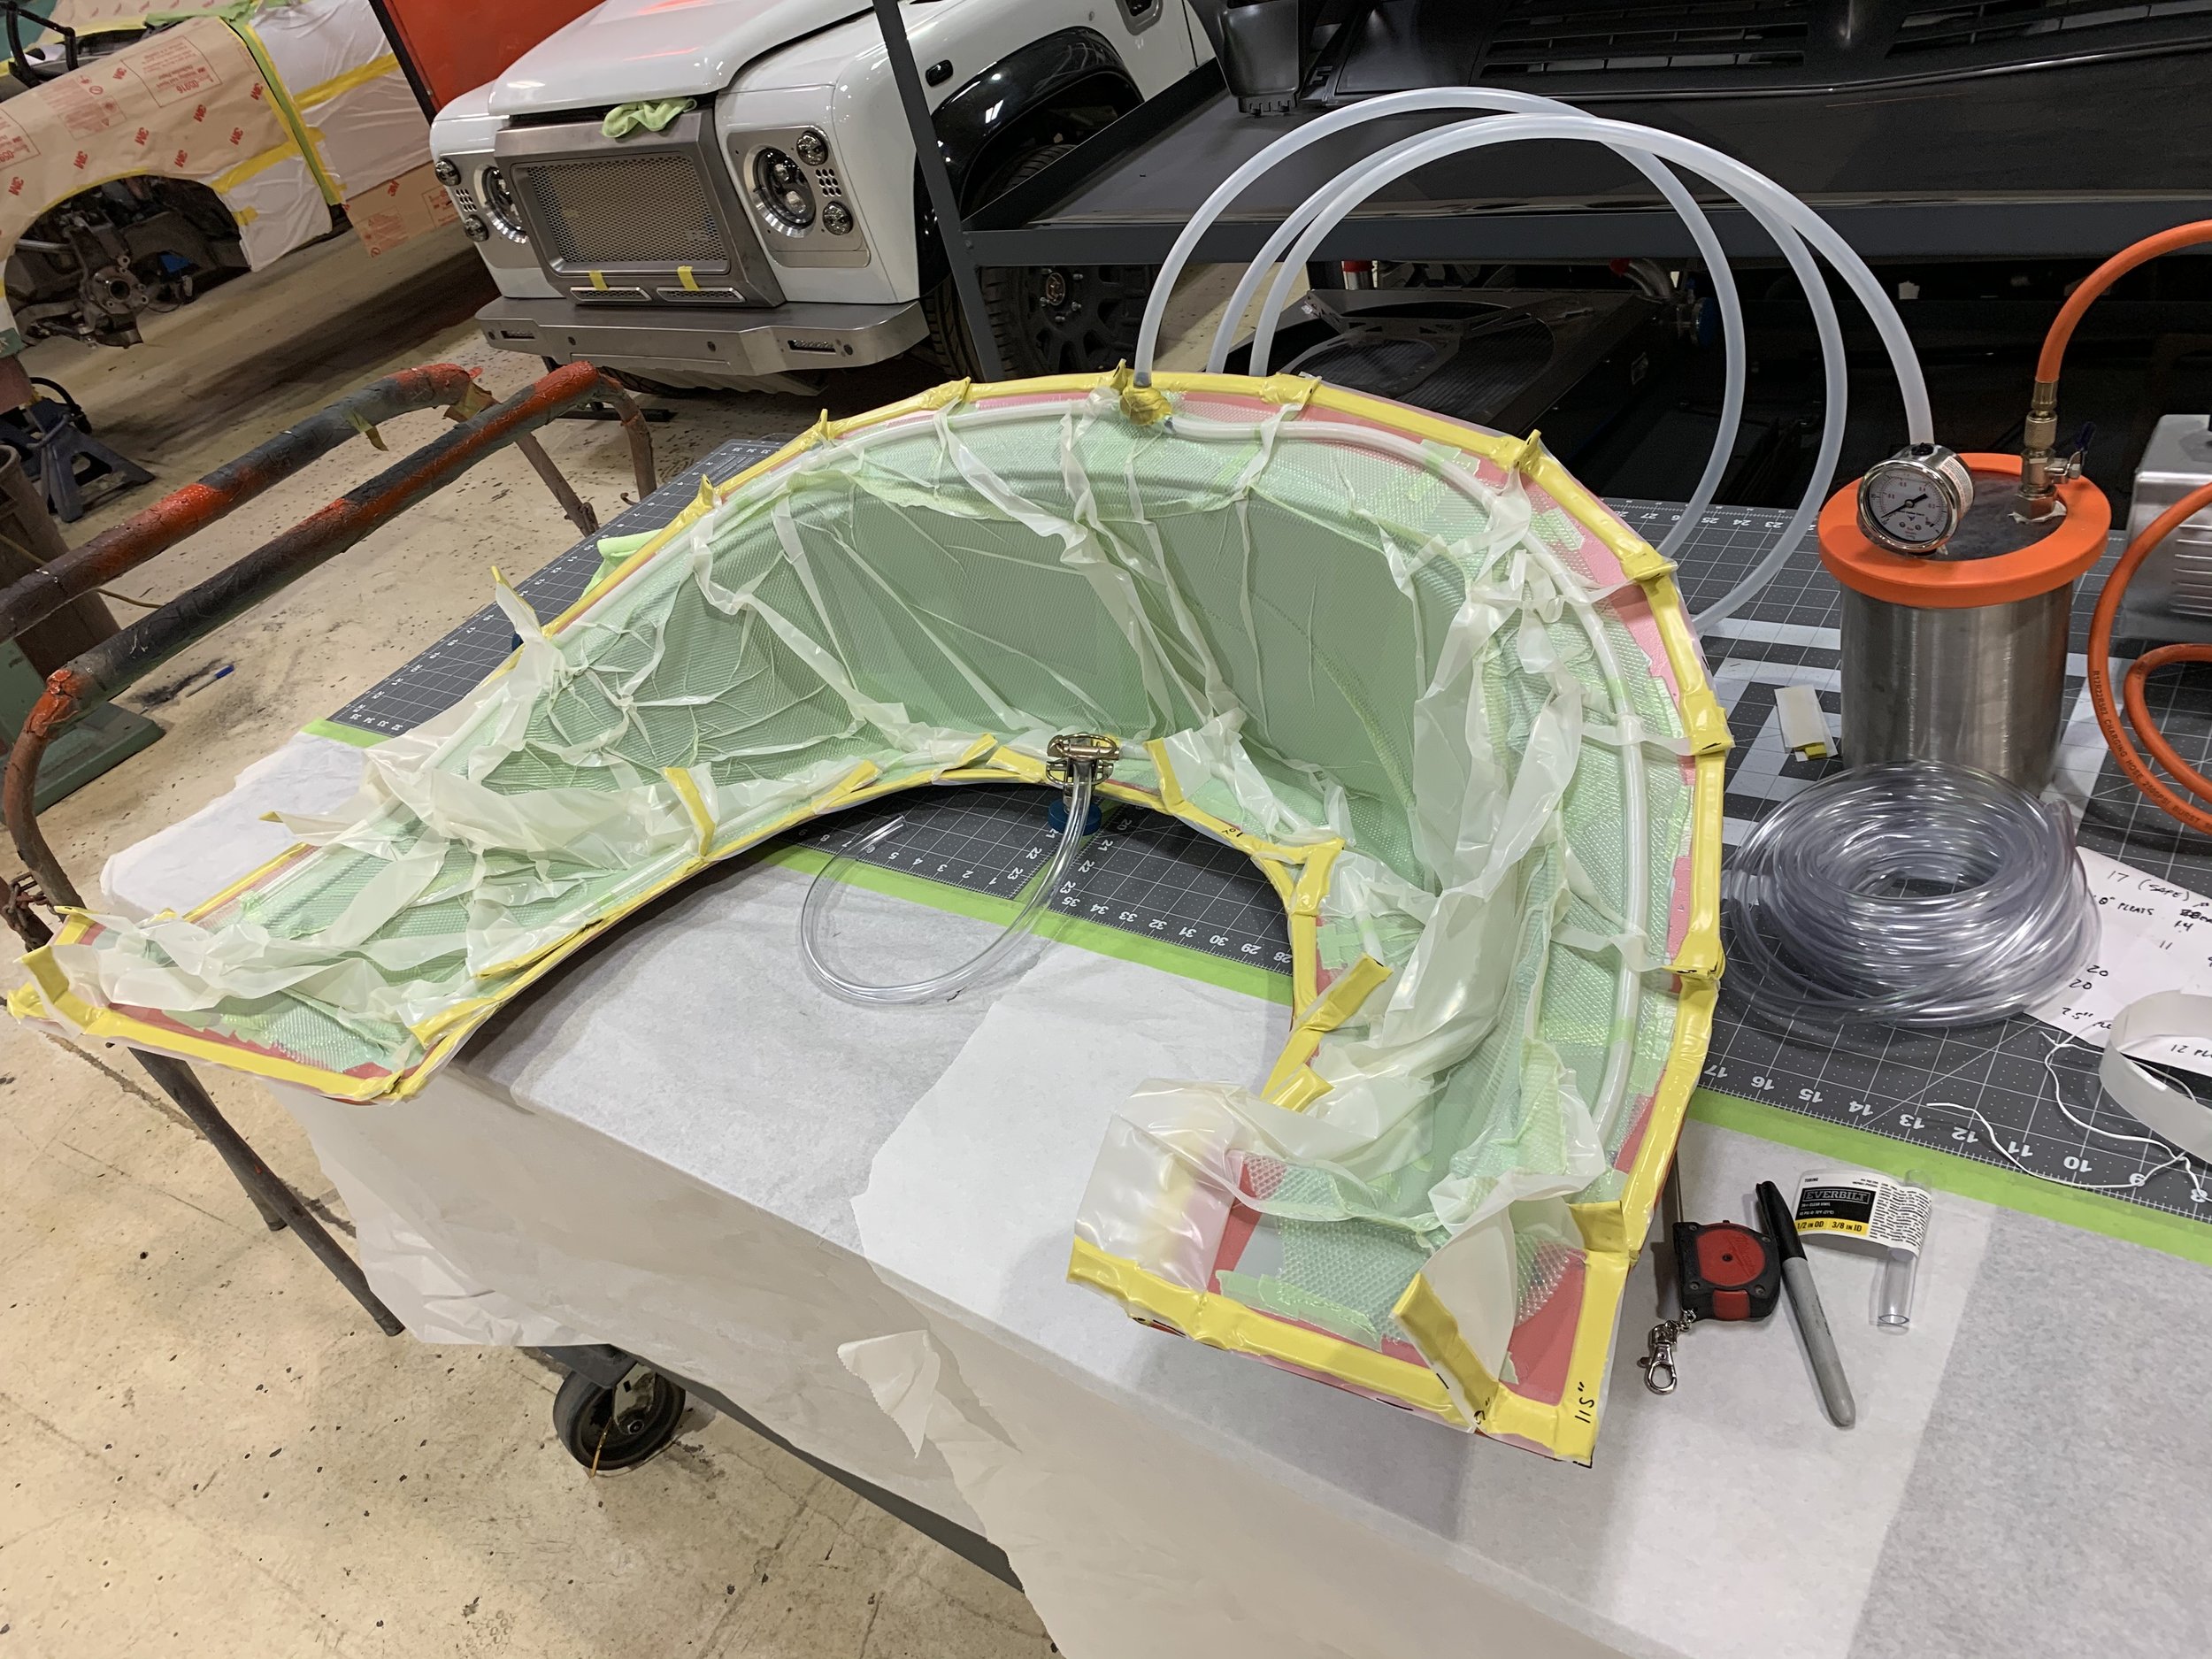
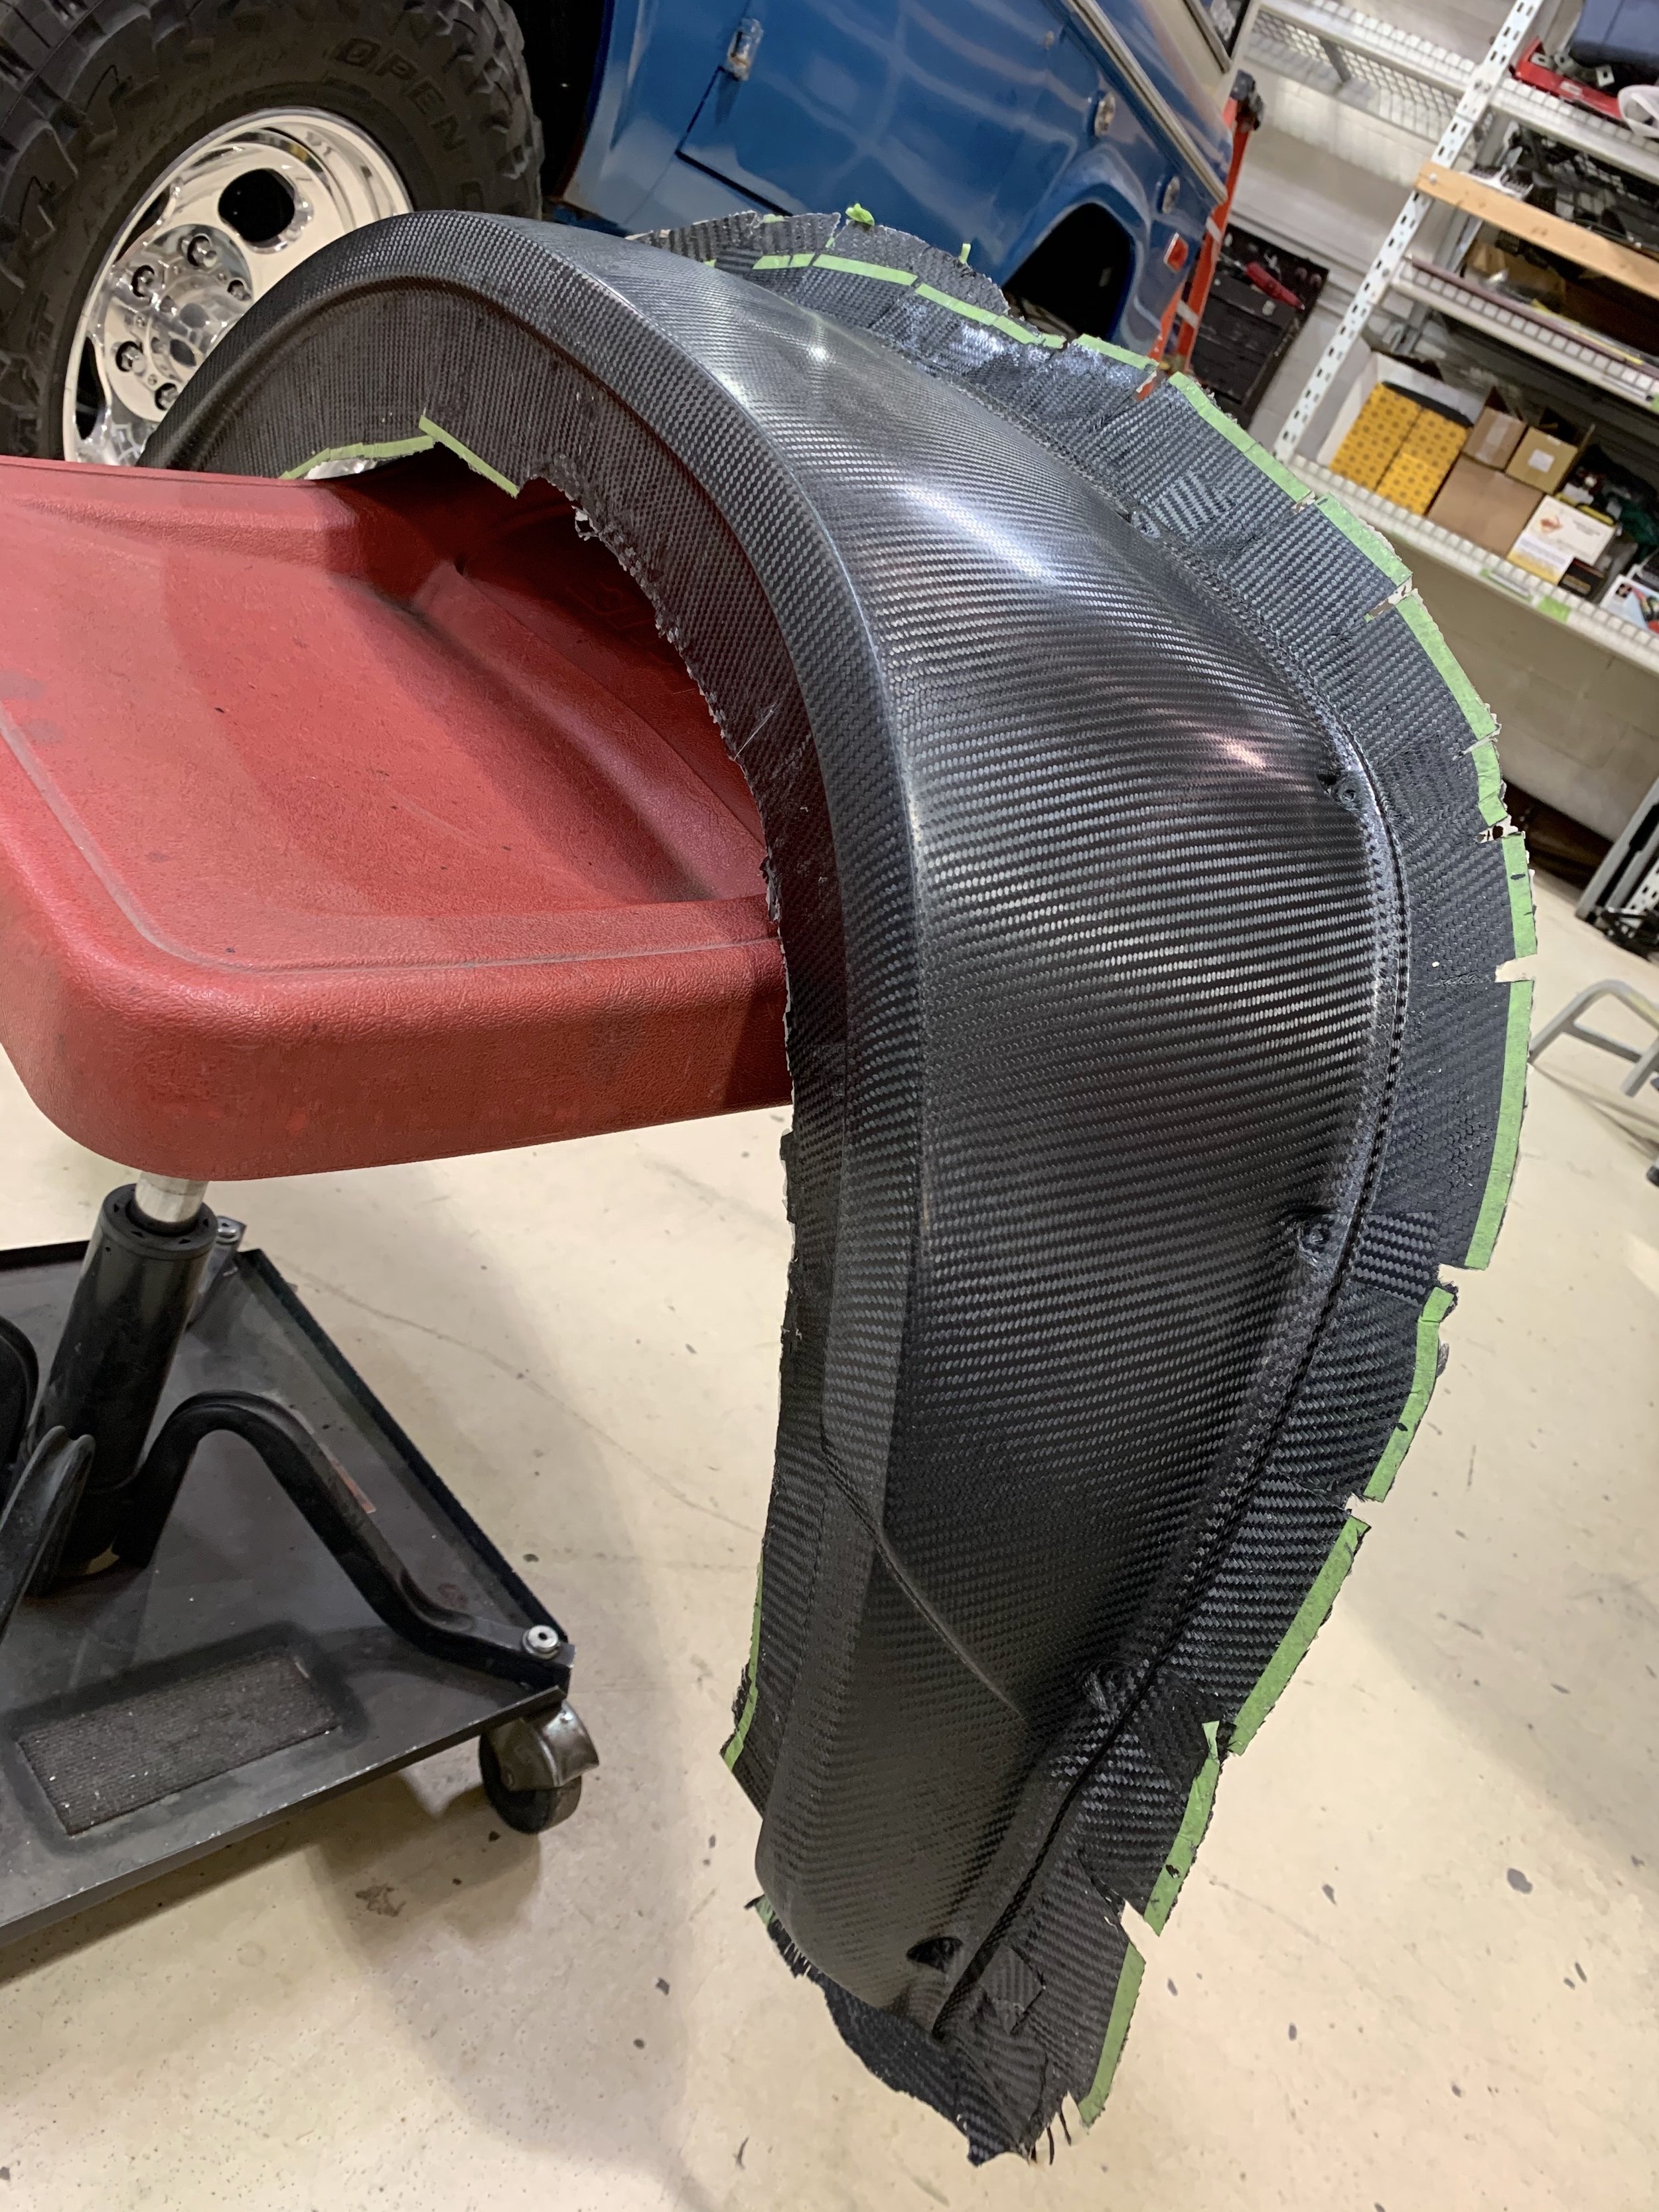
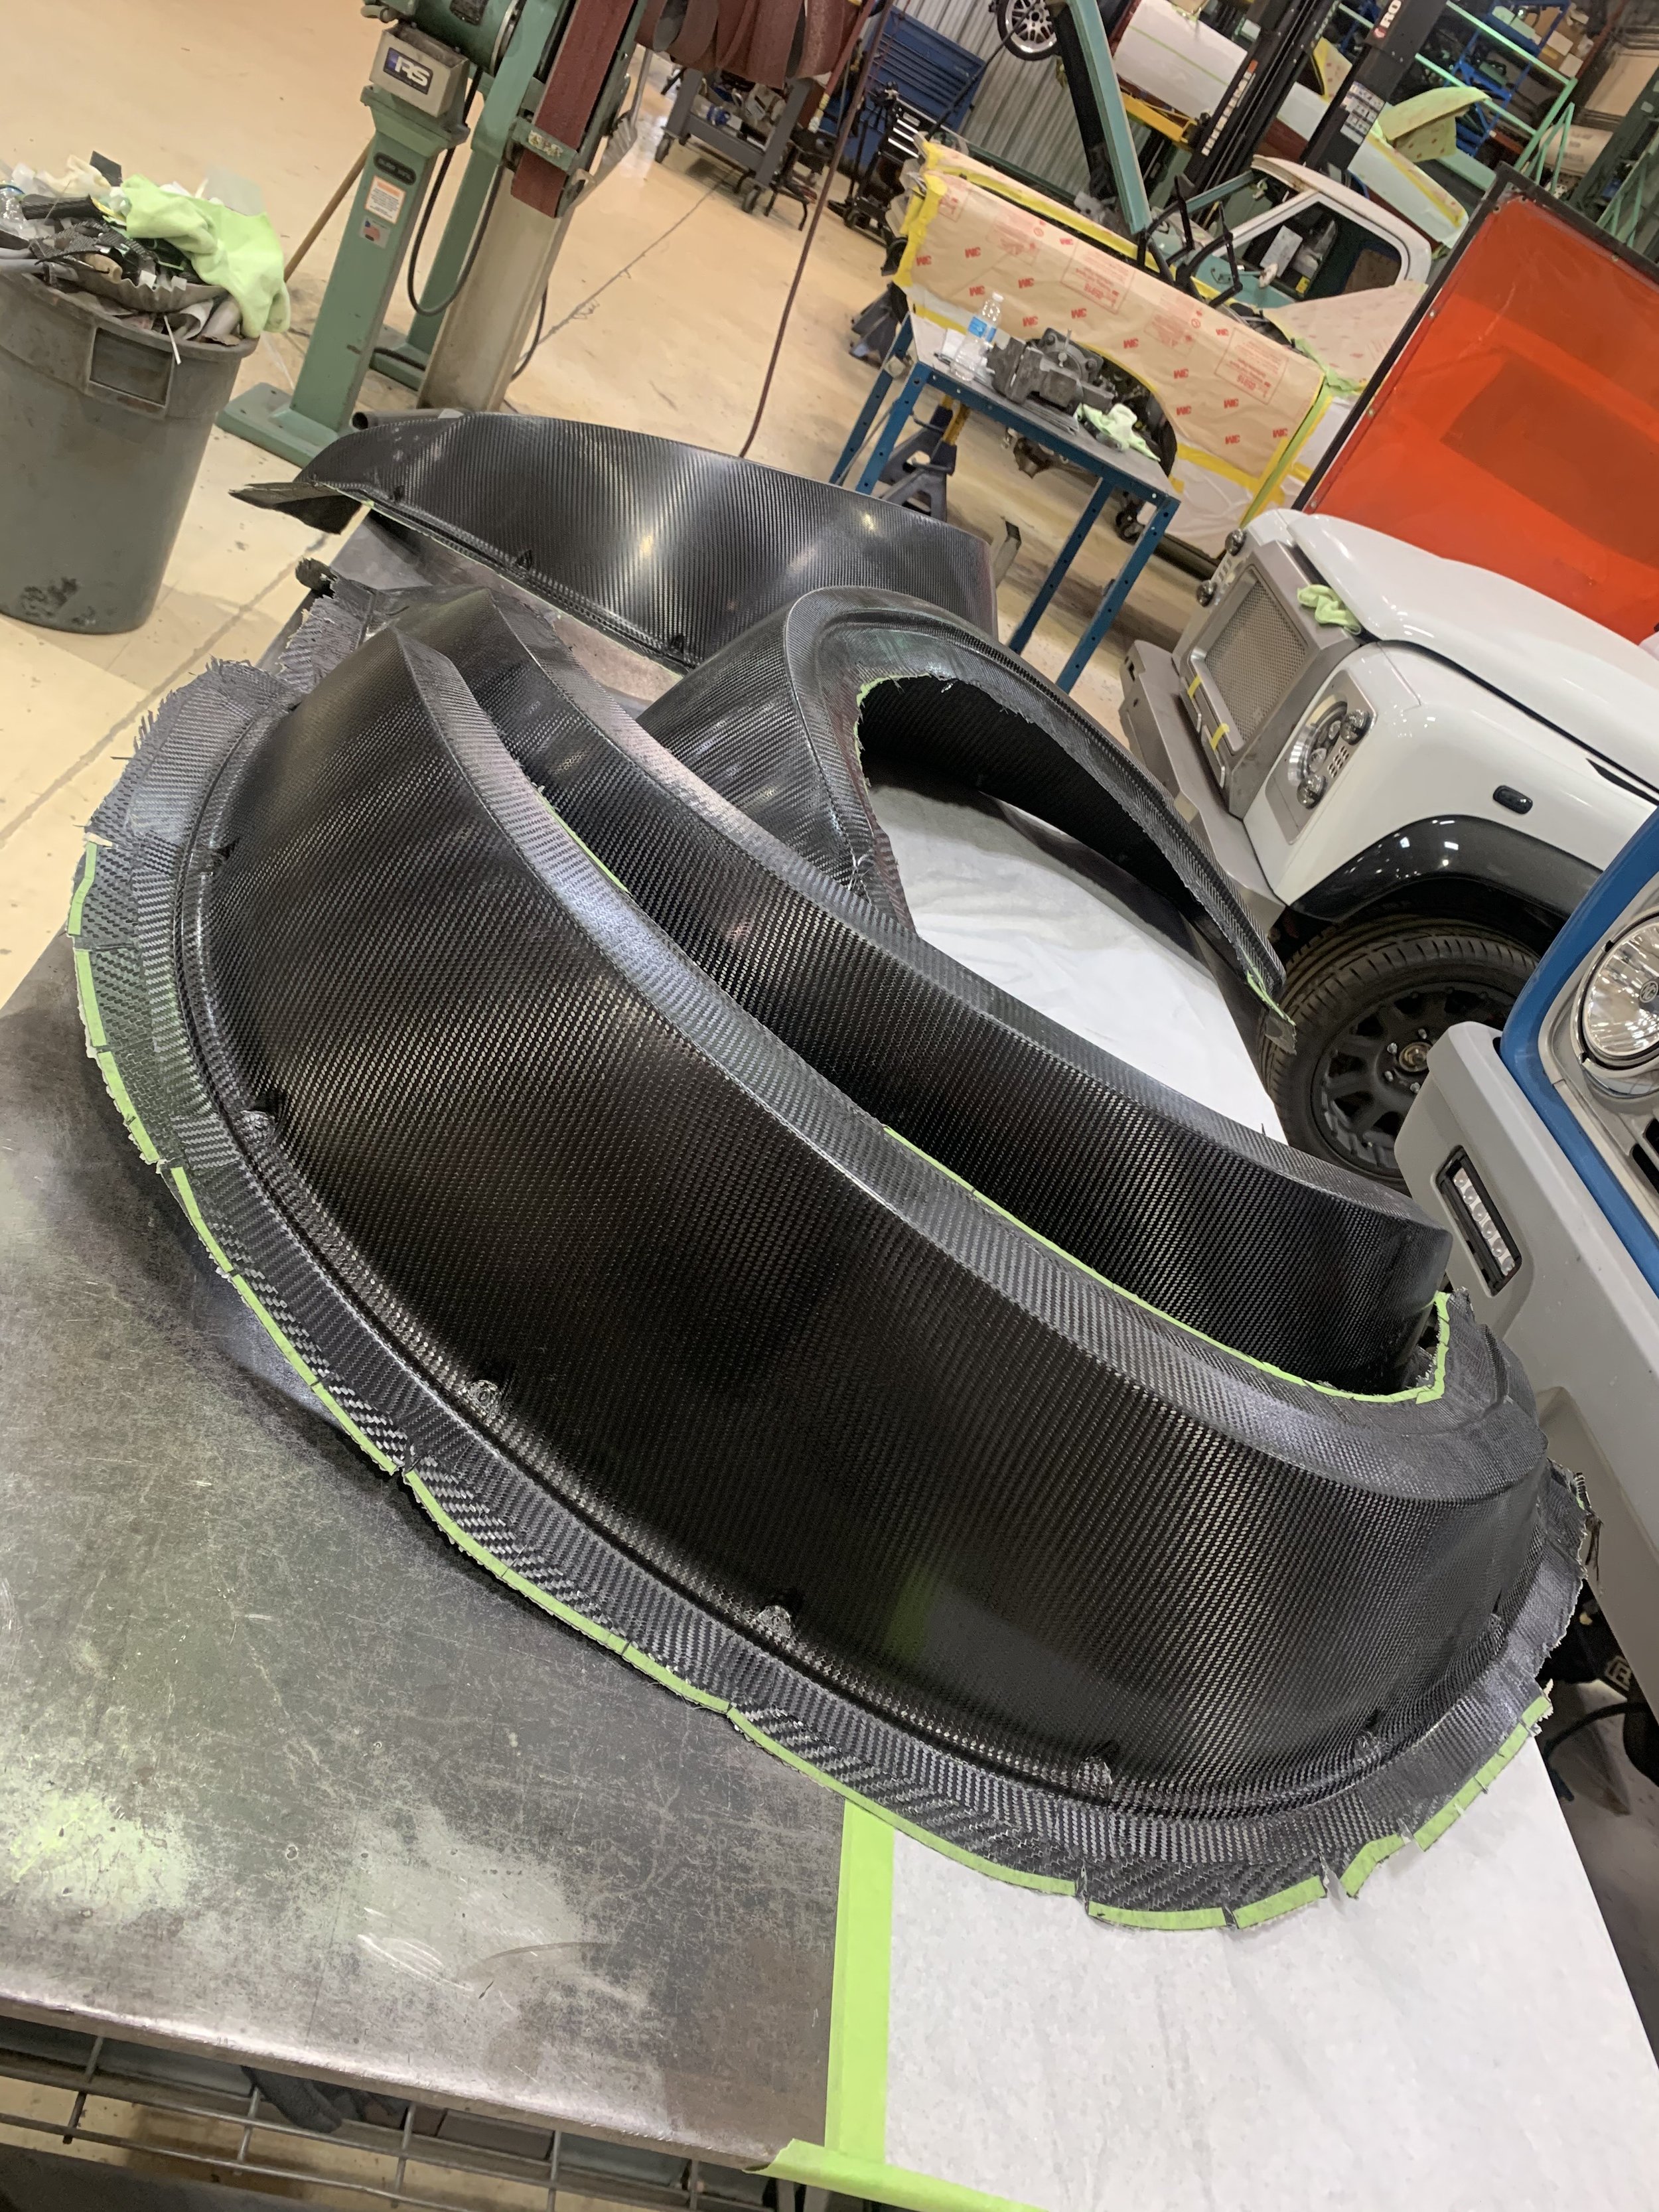
The flares were laid up using full carbon laminate, trying my best to use one single face layer of fabric to keep the weave consistent on each part. Once the cloth and consumables were all properly fit into the mold, the parts were resin infused using vinyl ester resin. I has a lot of issues with the particular resin I was using, it traveled incredibly fast and wasnt allowing the resin to fully saturate down through the cloth to the face layer before traveling across the back side of the laminate stack. I really had to throttle back the resin feed and give the material time to saturate the entire stack, looking back I wish I would have used the epoxy materials I conventionally use now.
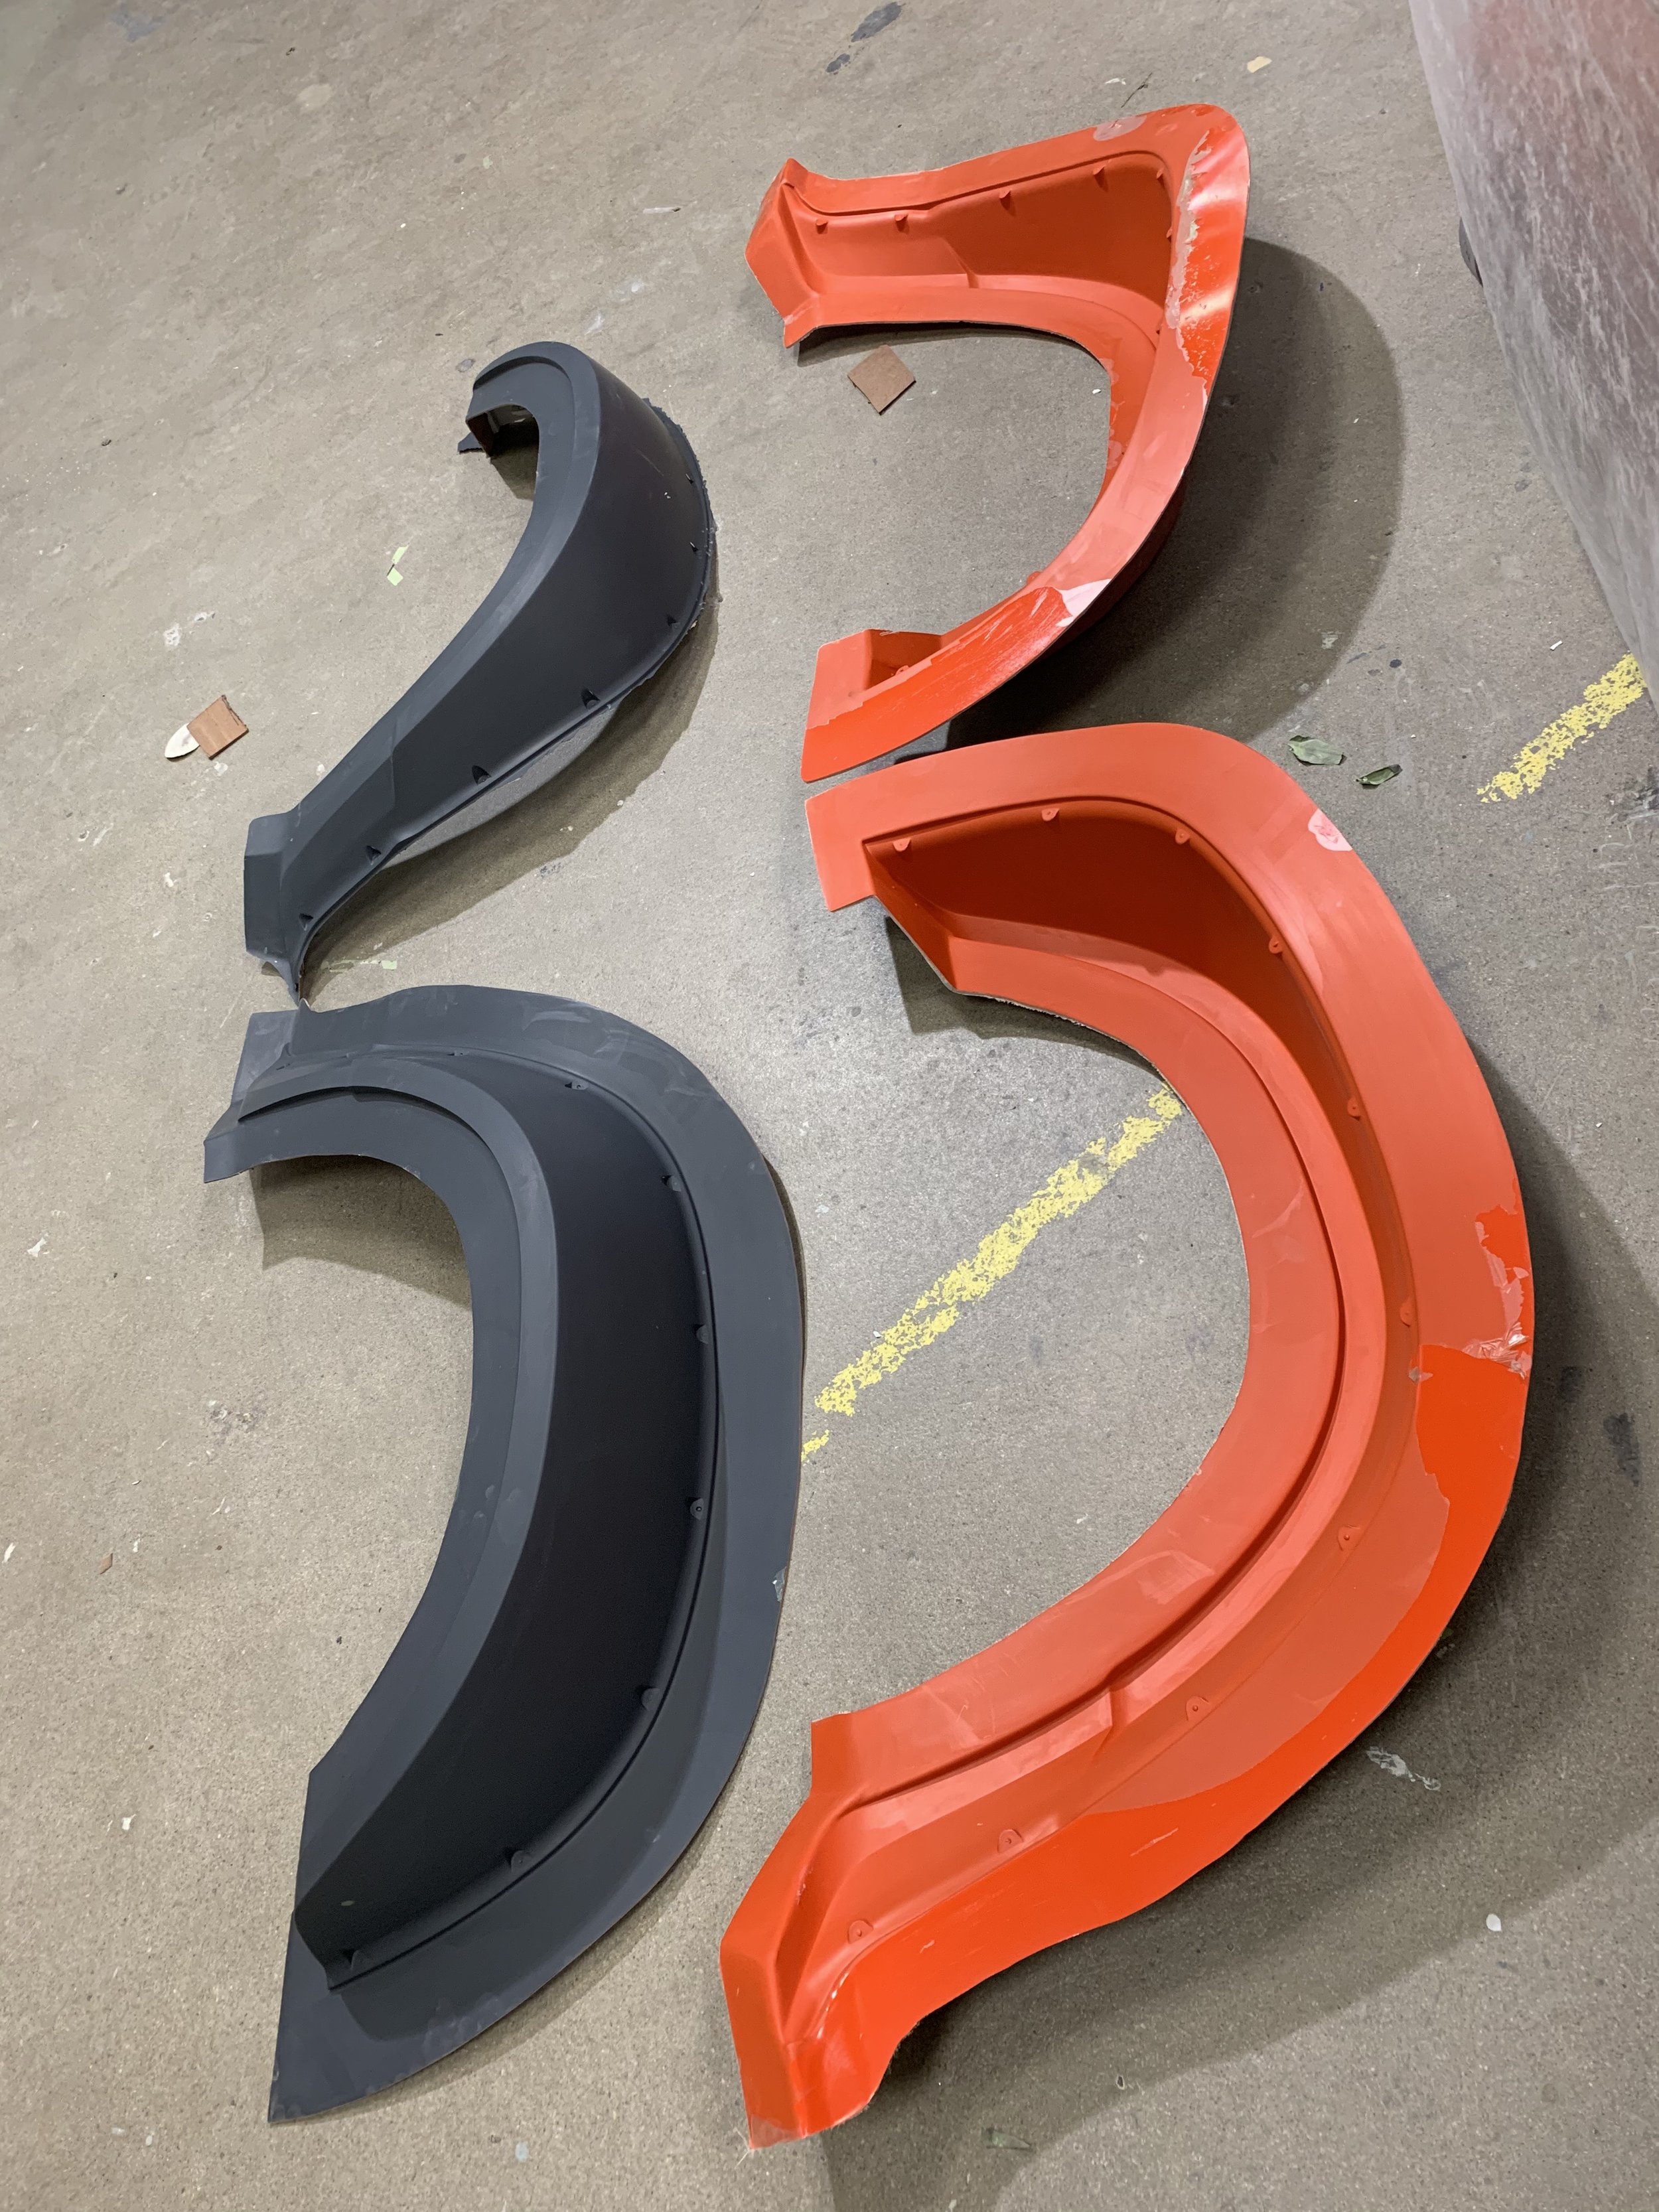
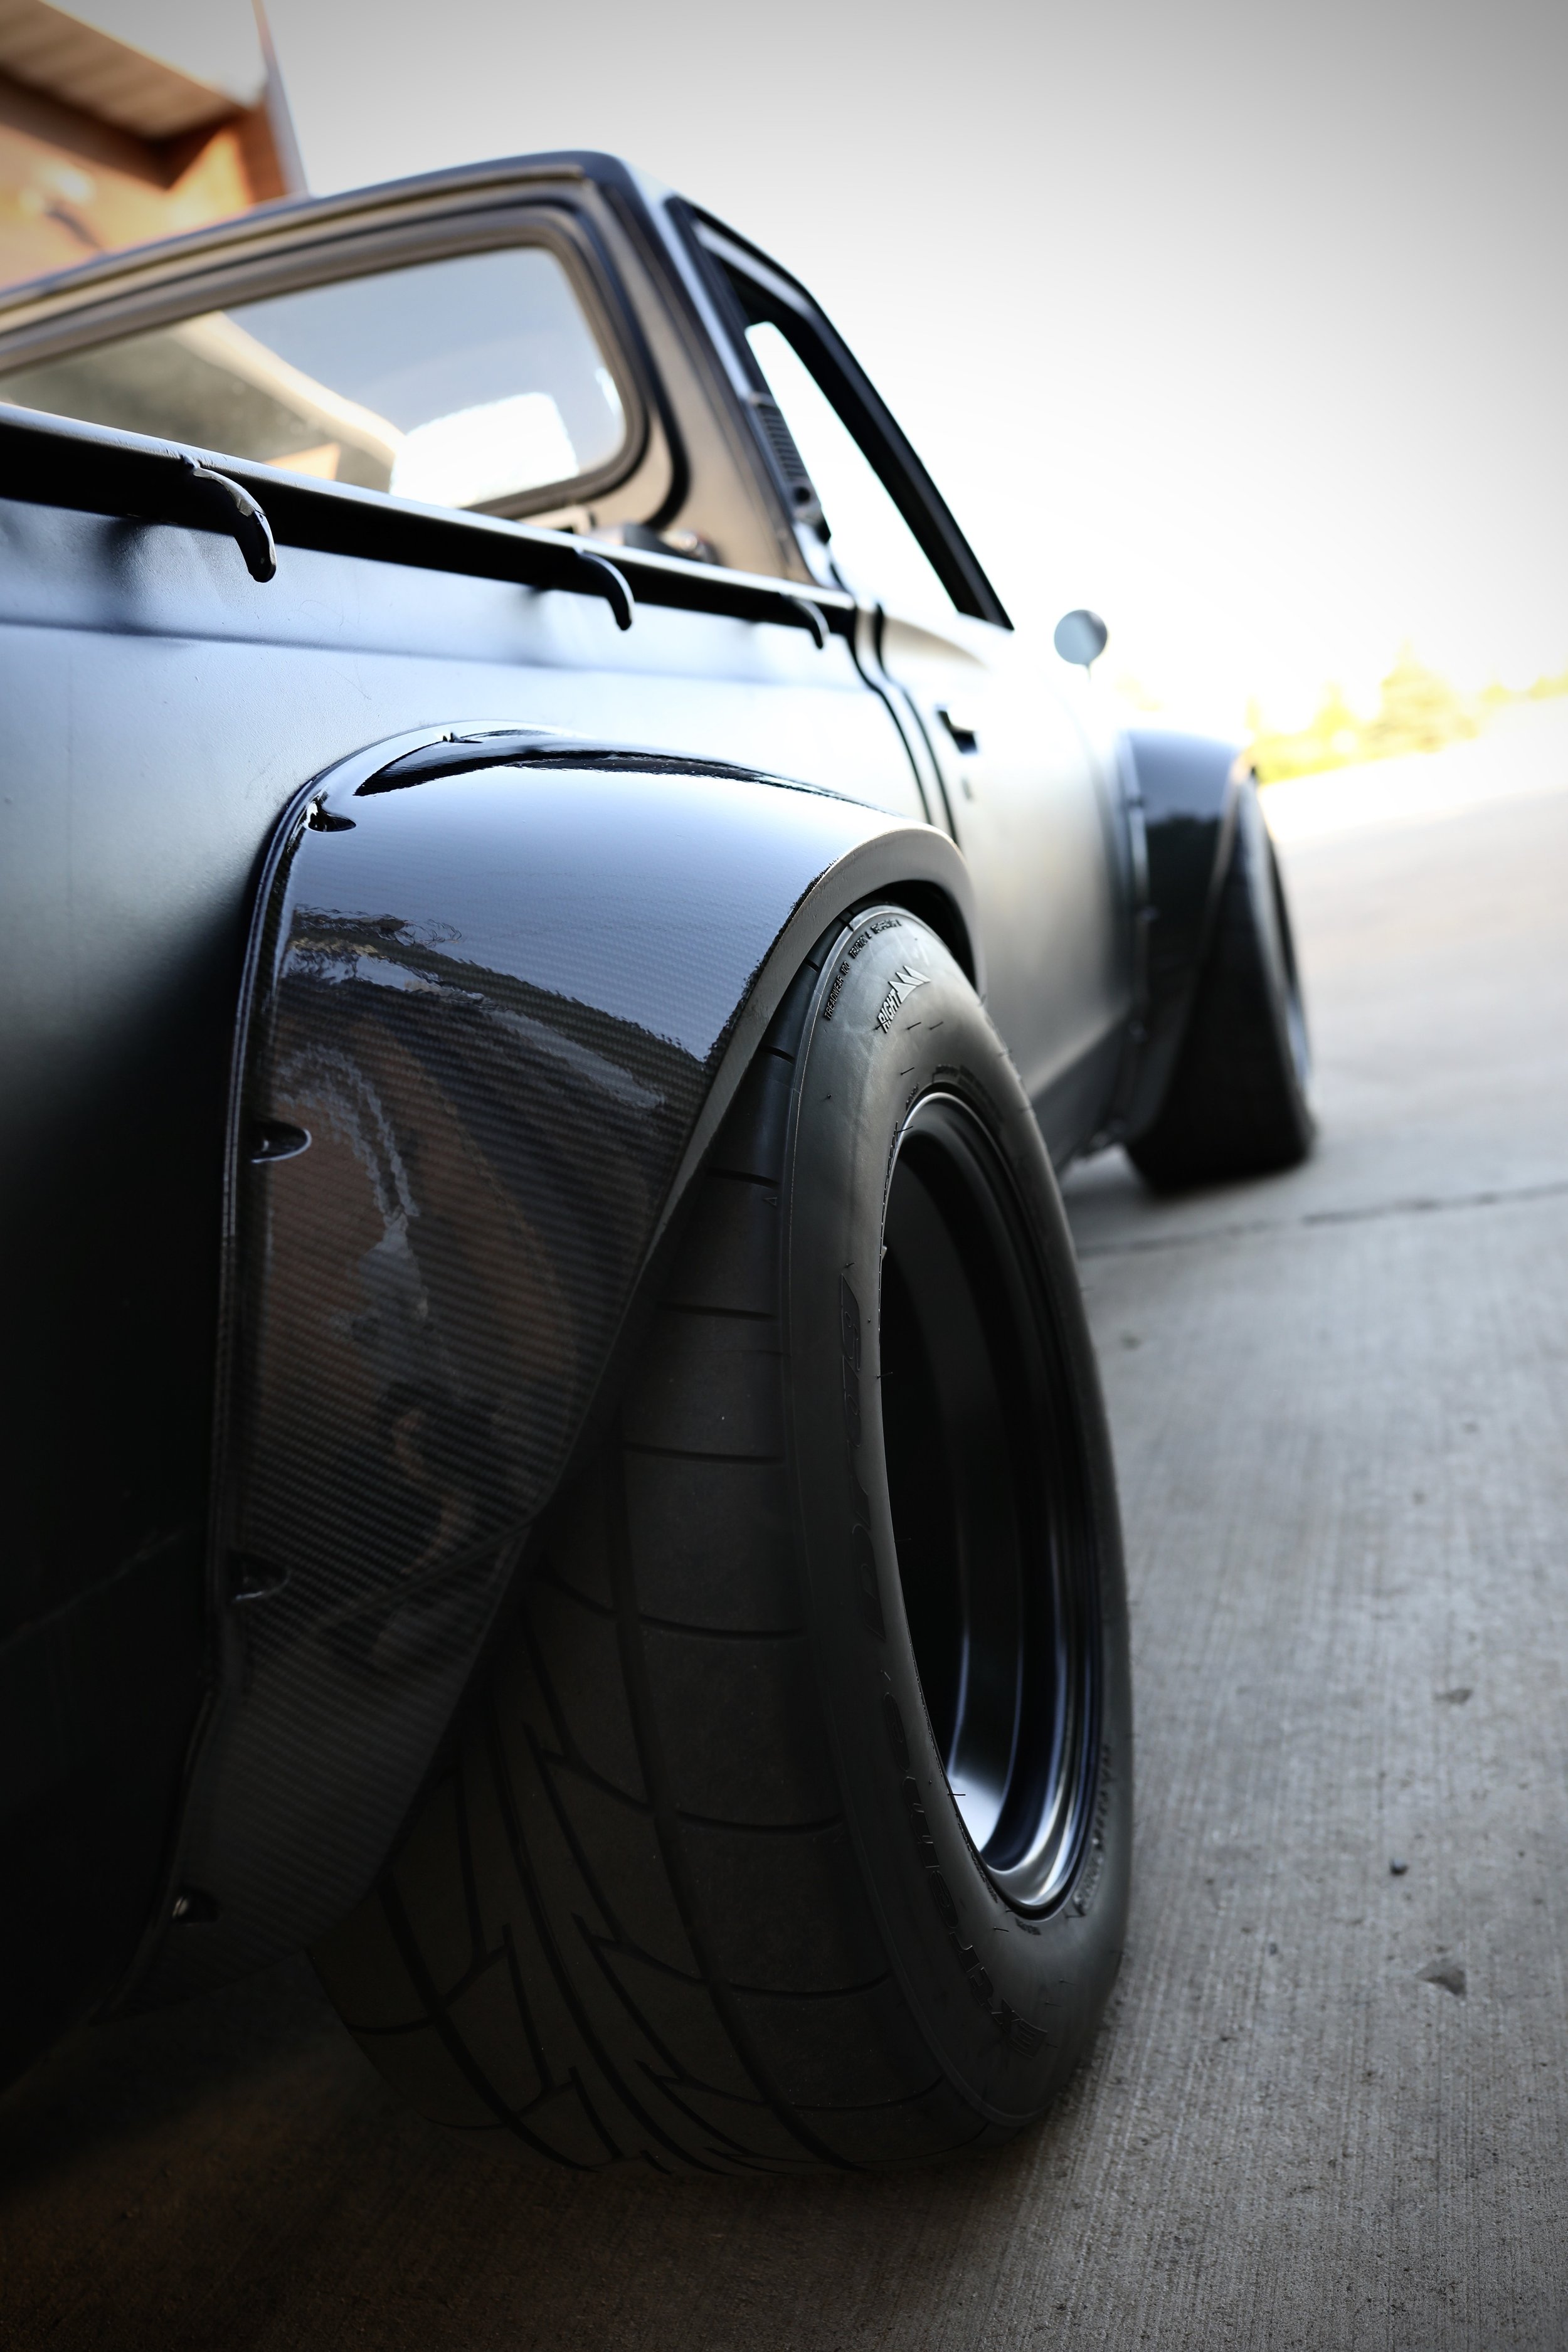
Once the parts were infused and cured, they were pulled from the molds and trimmed to their final shapes. Test fitting the parts to the body was a surreal moment, a considerable amount of hard work had finally brought me to parts that fit the build exactly as the CAD showed. A few thick coats of Duratec sunshield clear were sprayed on the flares to seal the surface and allow UV protection while the rest of the truck is continued to be worked on. The flares will still need to have that highly textured clear leveled and a final satin clear applied over top, but the results were amazing once installed.